 "Akio Ohtori - RIP Oppo" (akioohtori)
03/15/2018 at 10:59 • Filed to: Disco Inferno
 9
9
 6
6
 "Akio Ohtori - RIP Oppo" (akioohtori)
03/15/2018 at 10:59 • Filed to: Disco Inferno |  9 9
|  6 6 |
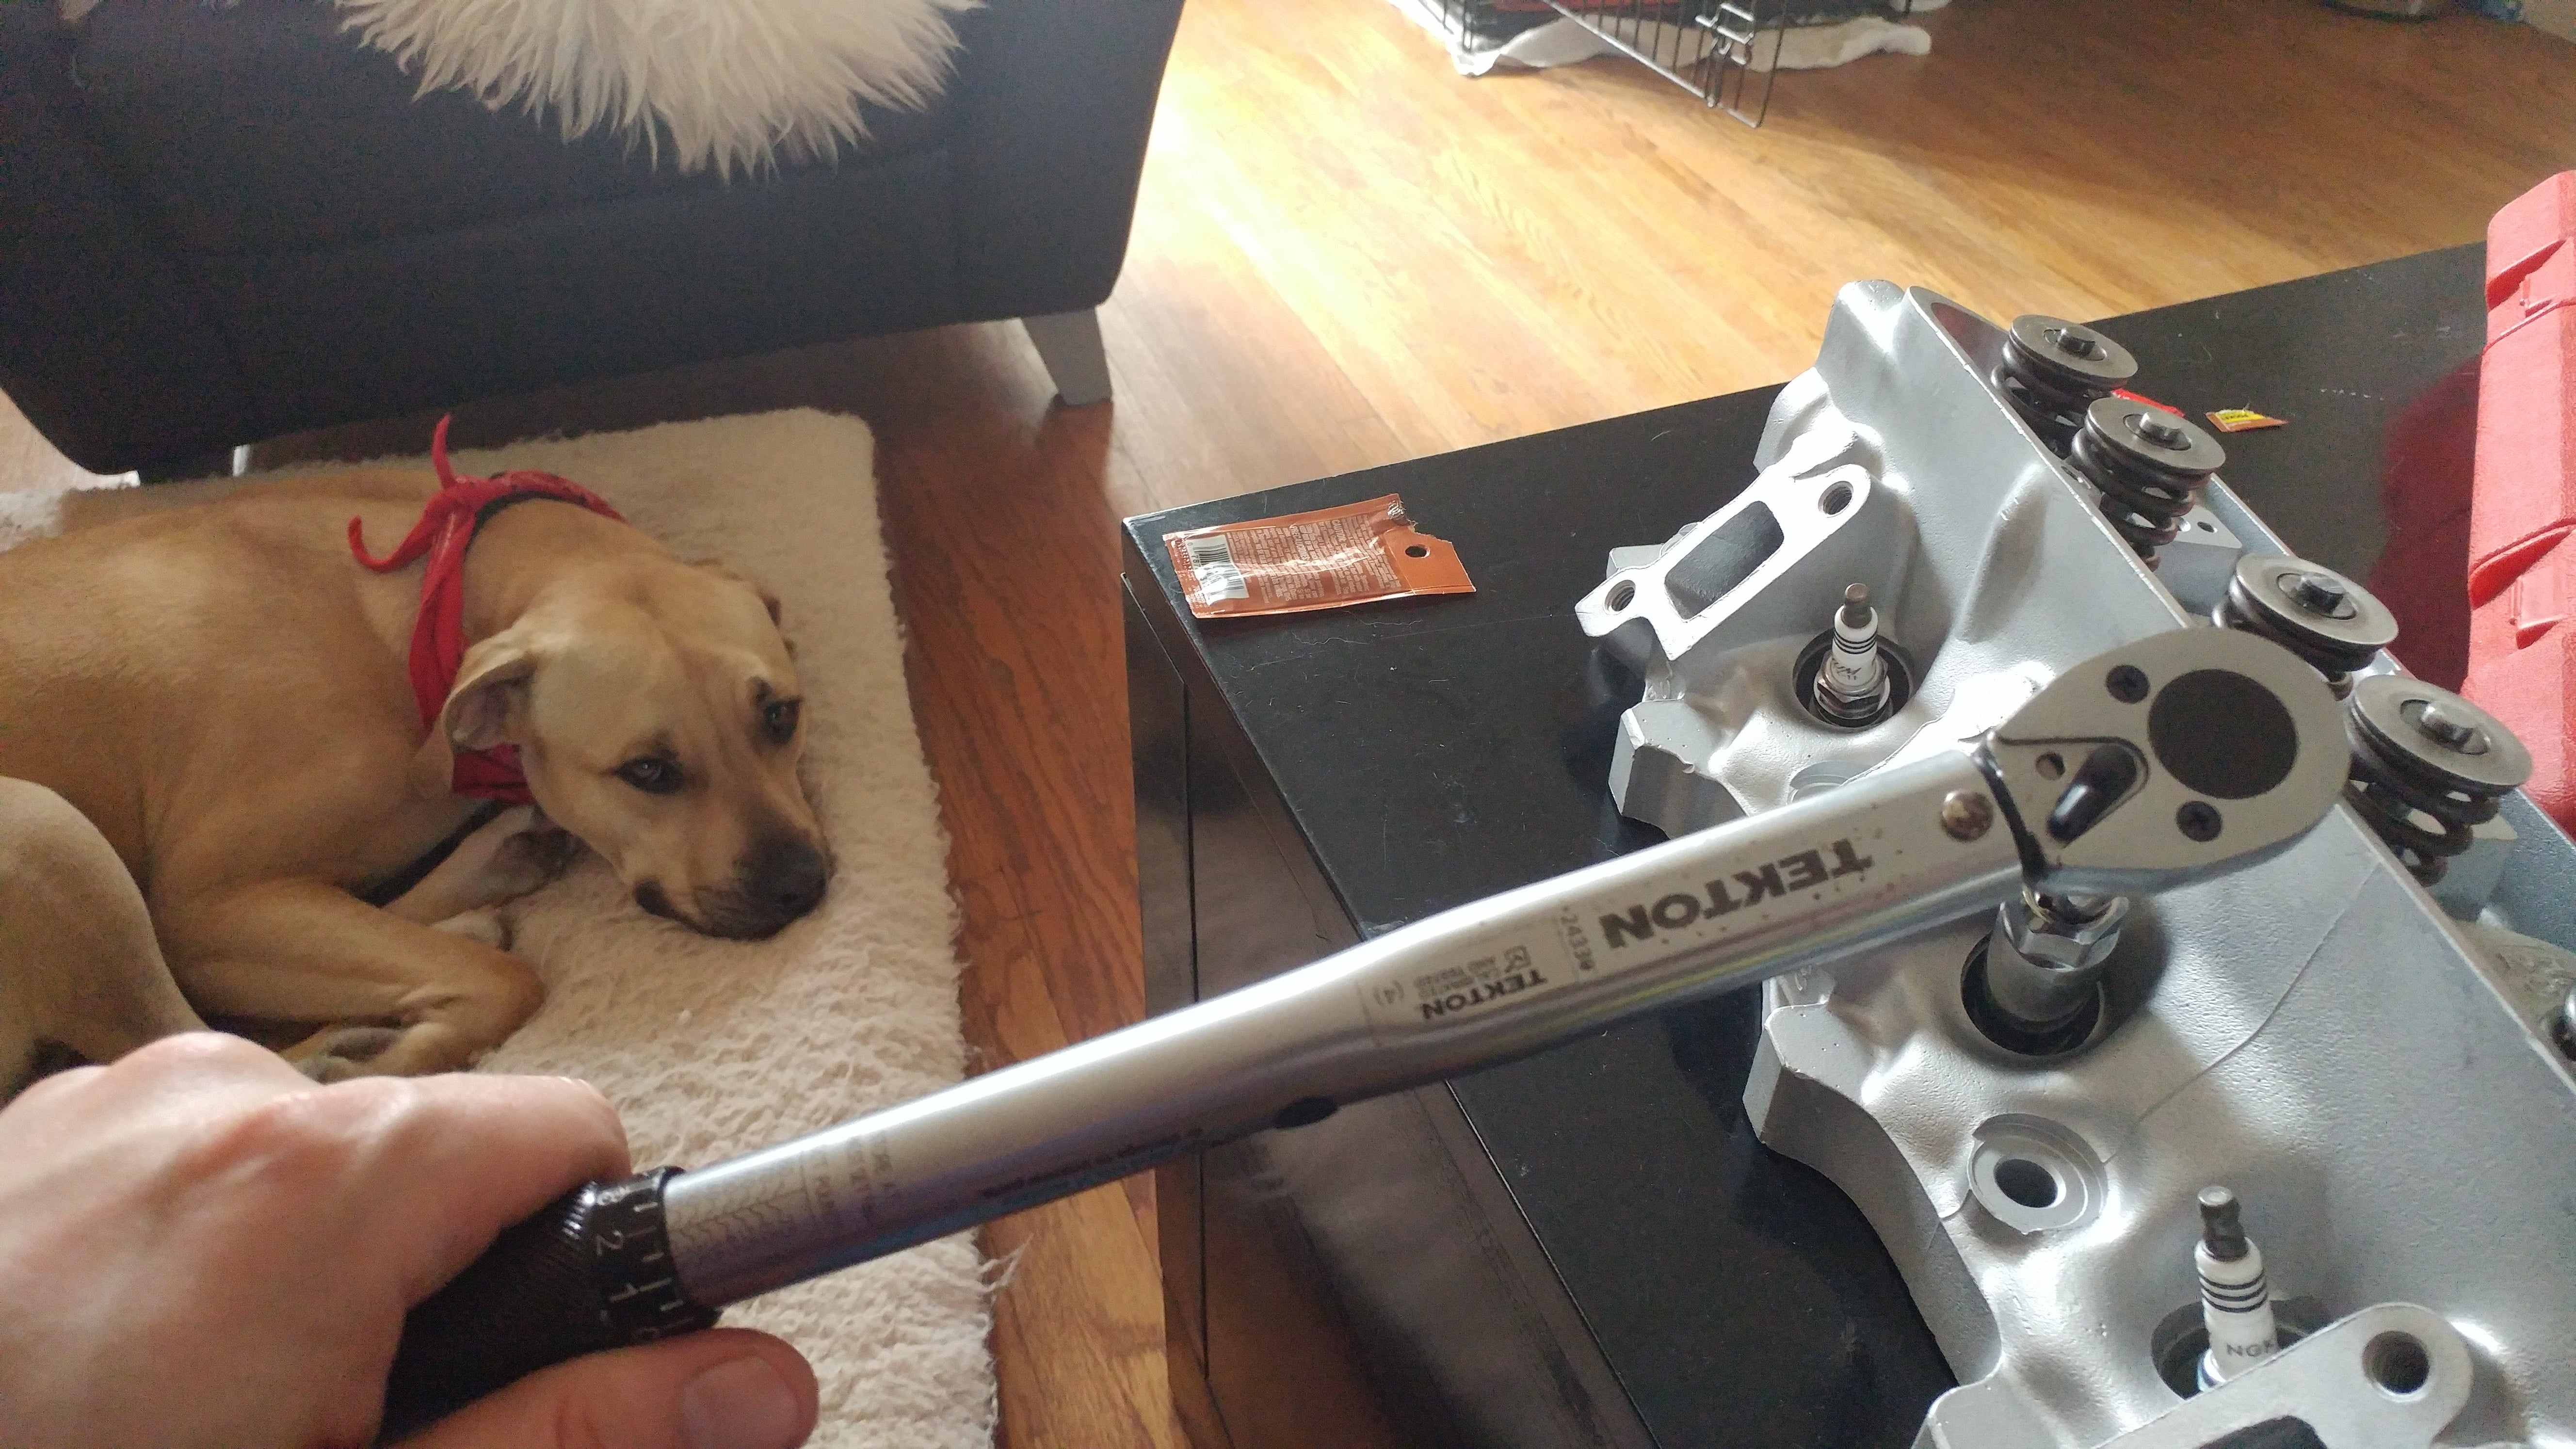
What a giant pain in the butt! (Warning: photo heavy)
Previously, on Lost...
Before out big offroad road trip at the end of this month I decided to go ahead and repair the leaking head gaskets on my Land Rover. So far we’d managed to get it completely torn down in a weekend, but then spent the next two weeks messing with ancillary repairs and waiting on unexpected parts.
The initial teardown went well, but the “bonus” teardown to get to the timing chain was less than fun.
And now...
The fun started with reassembling the timing cover... which wasn’t that bad.
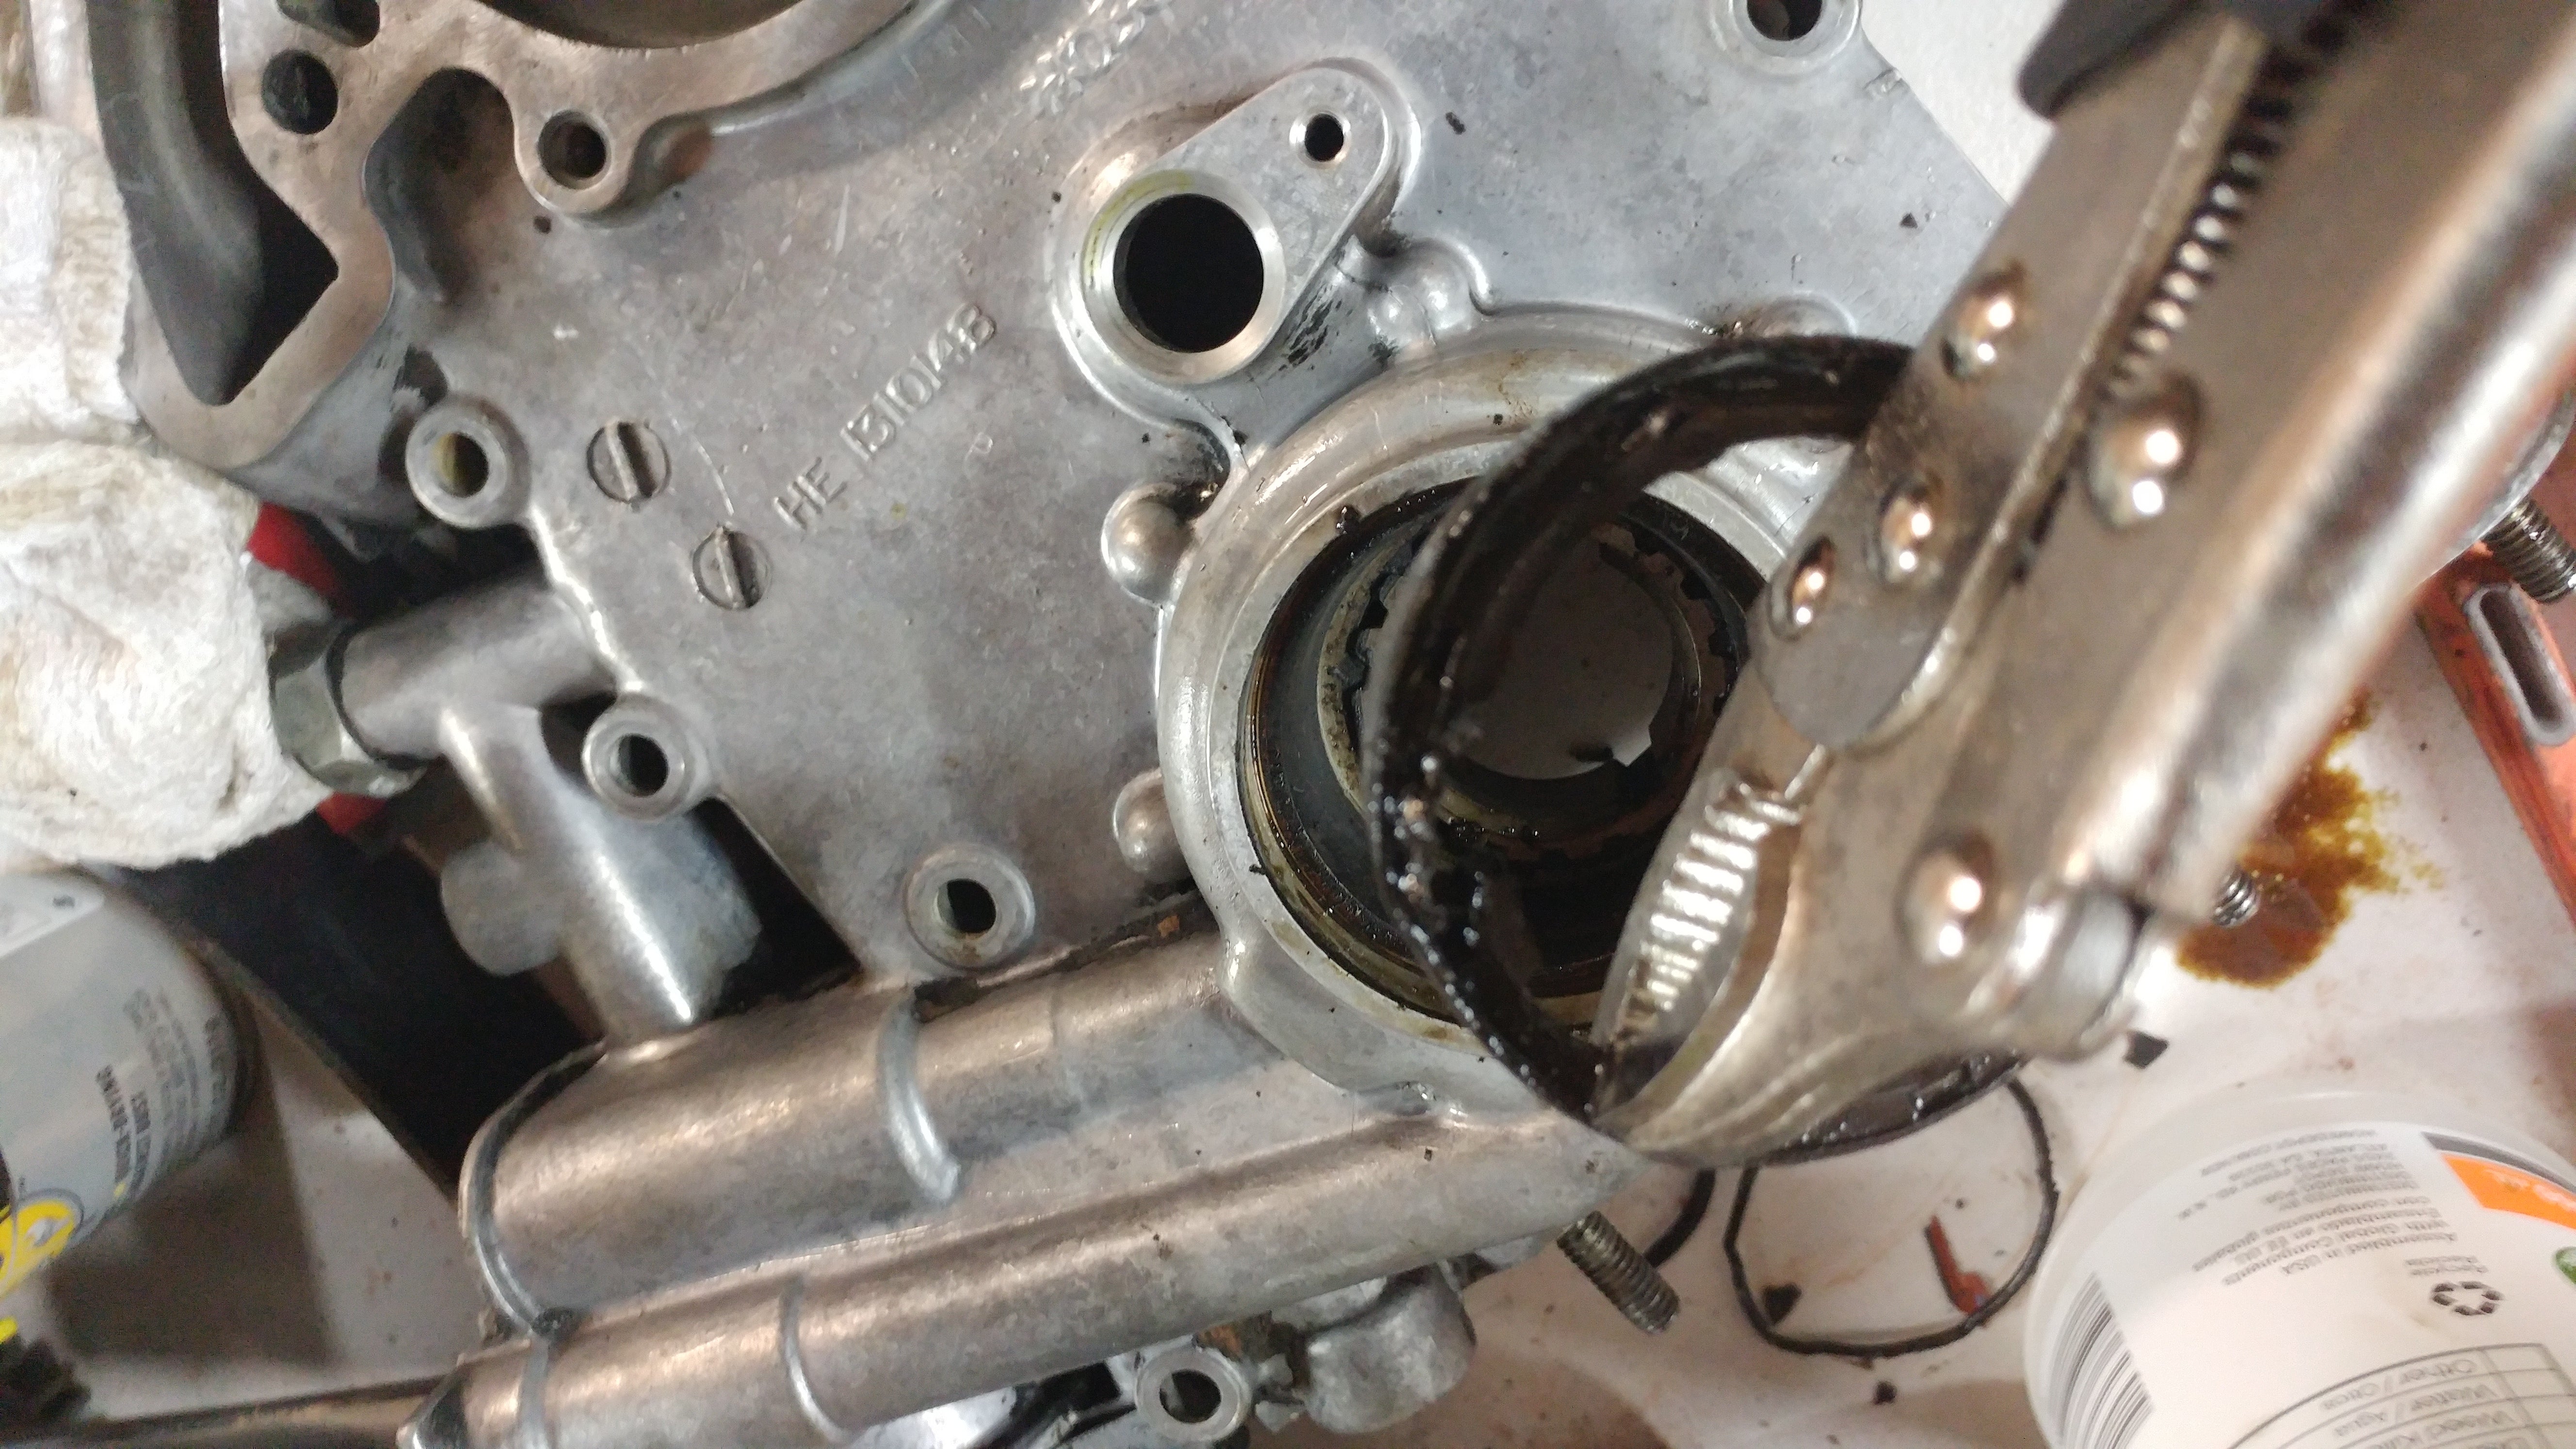
Except removing the crankshaft oil seal... which was the most tenacious little bastard. It took a lot to get out. New one was easy enough to put in using an 28mm biglyest socket and some love taps with a dead blow.
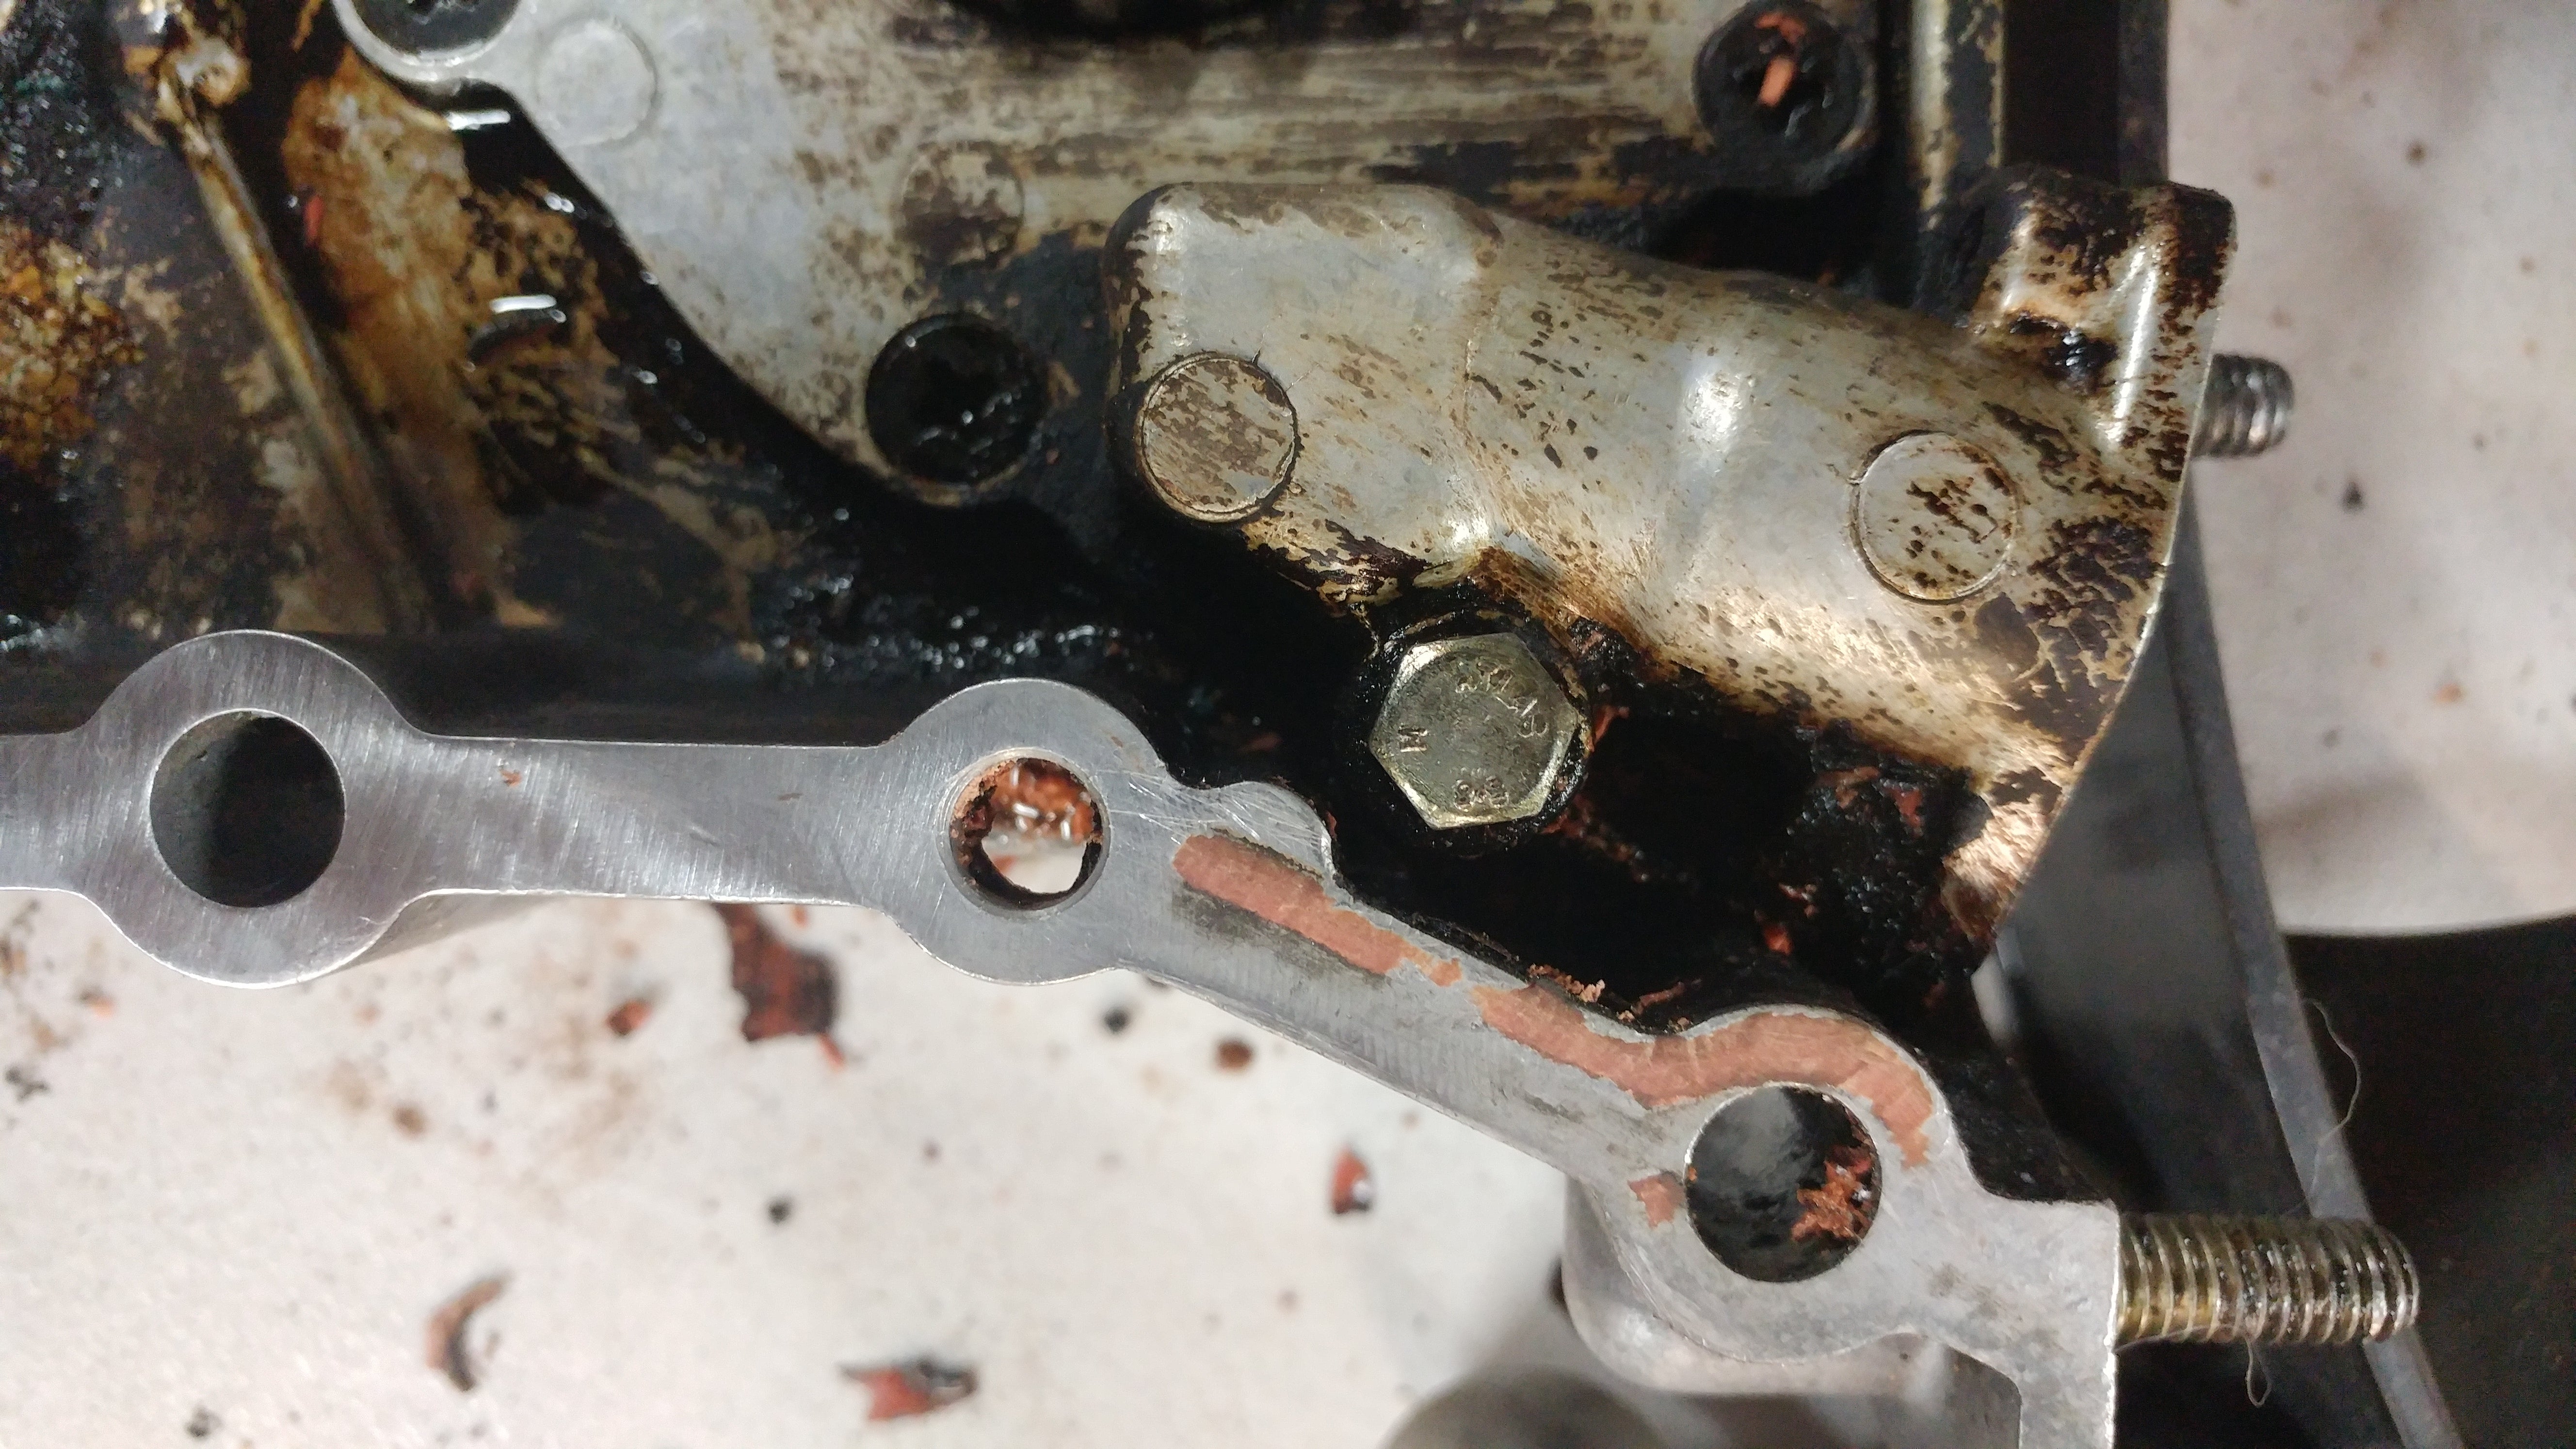
We cleaned up the mating surfaces using a ultra-fine scouring pad on a die grinder. It made me nervous doing it, but considering how long it took to take gasket off with it, I’m going to assume it wasn’t doing anything to the aluminum. On the bright side, it looked amazing afterwards.
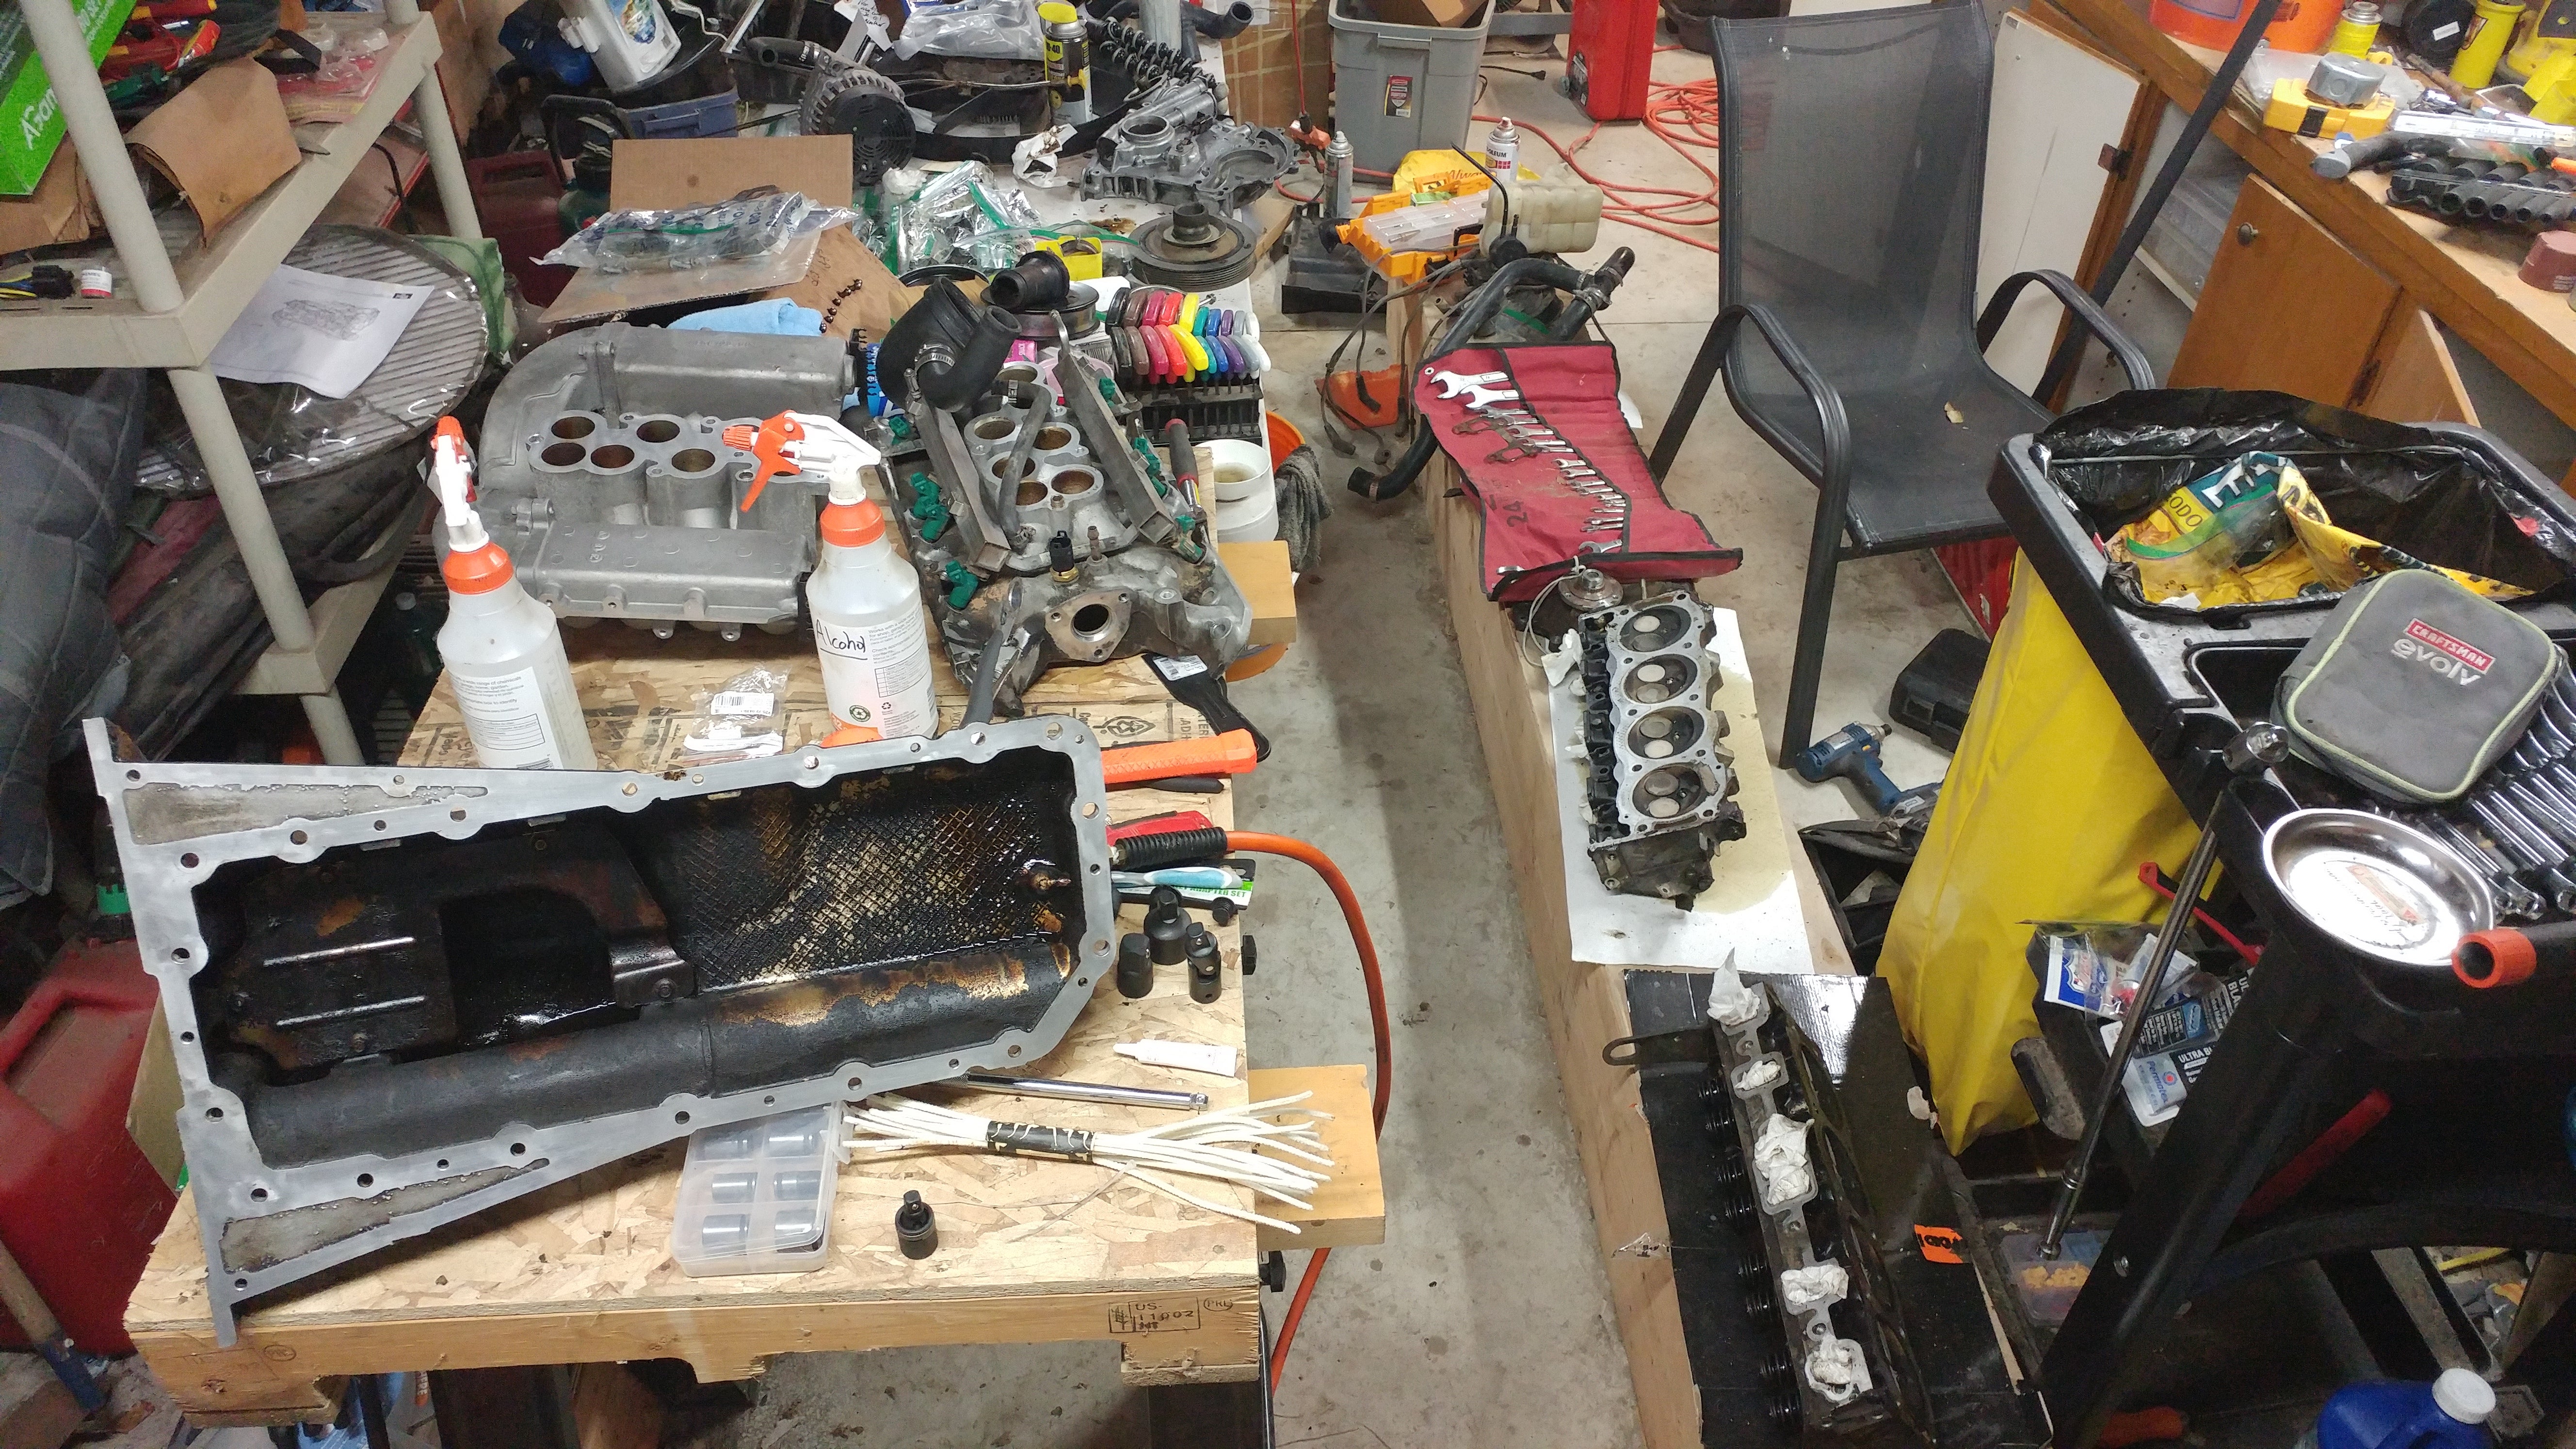
Then we dressed the surfaces, aligned the keys and keyways and slammed the timing cover on, making sure to put thread sealant on the bolts.
Then the crank pulley and bolt got to go back on. That actually went pretty smooth, although I can safely say I have no desire to torque something to 200 ft*lbs again.
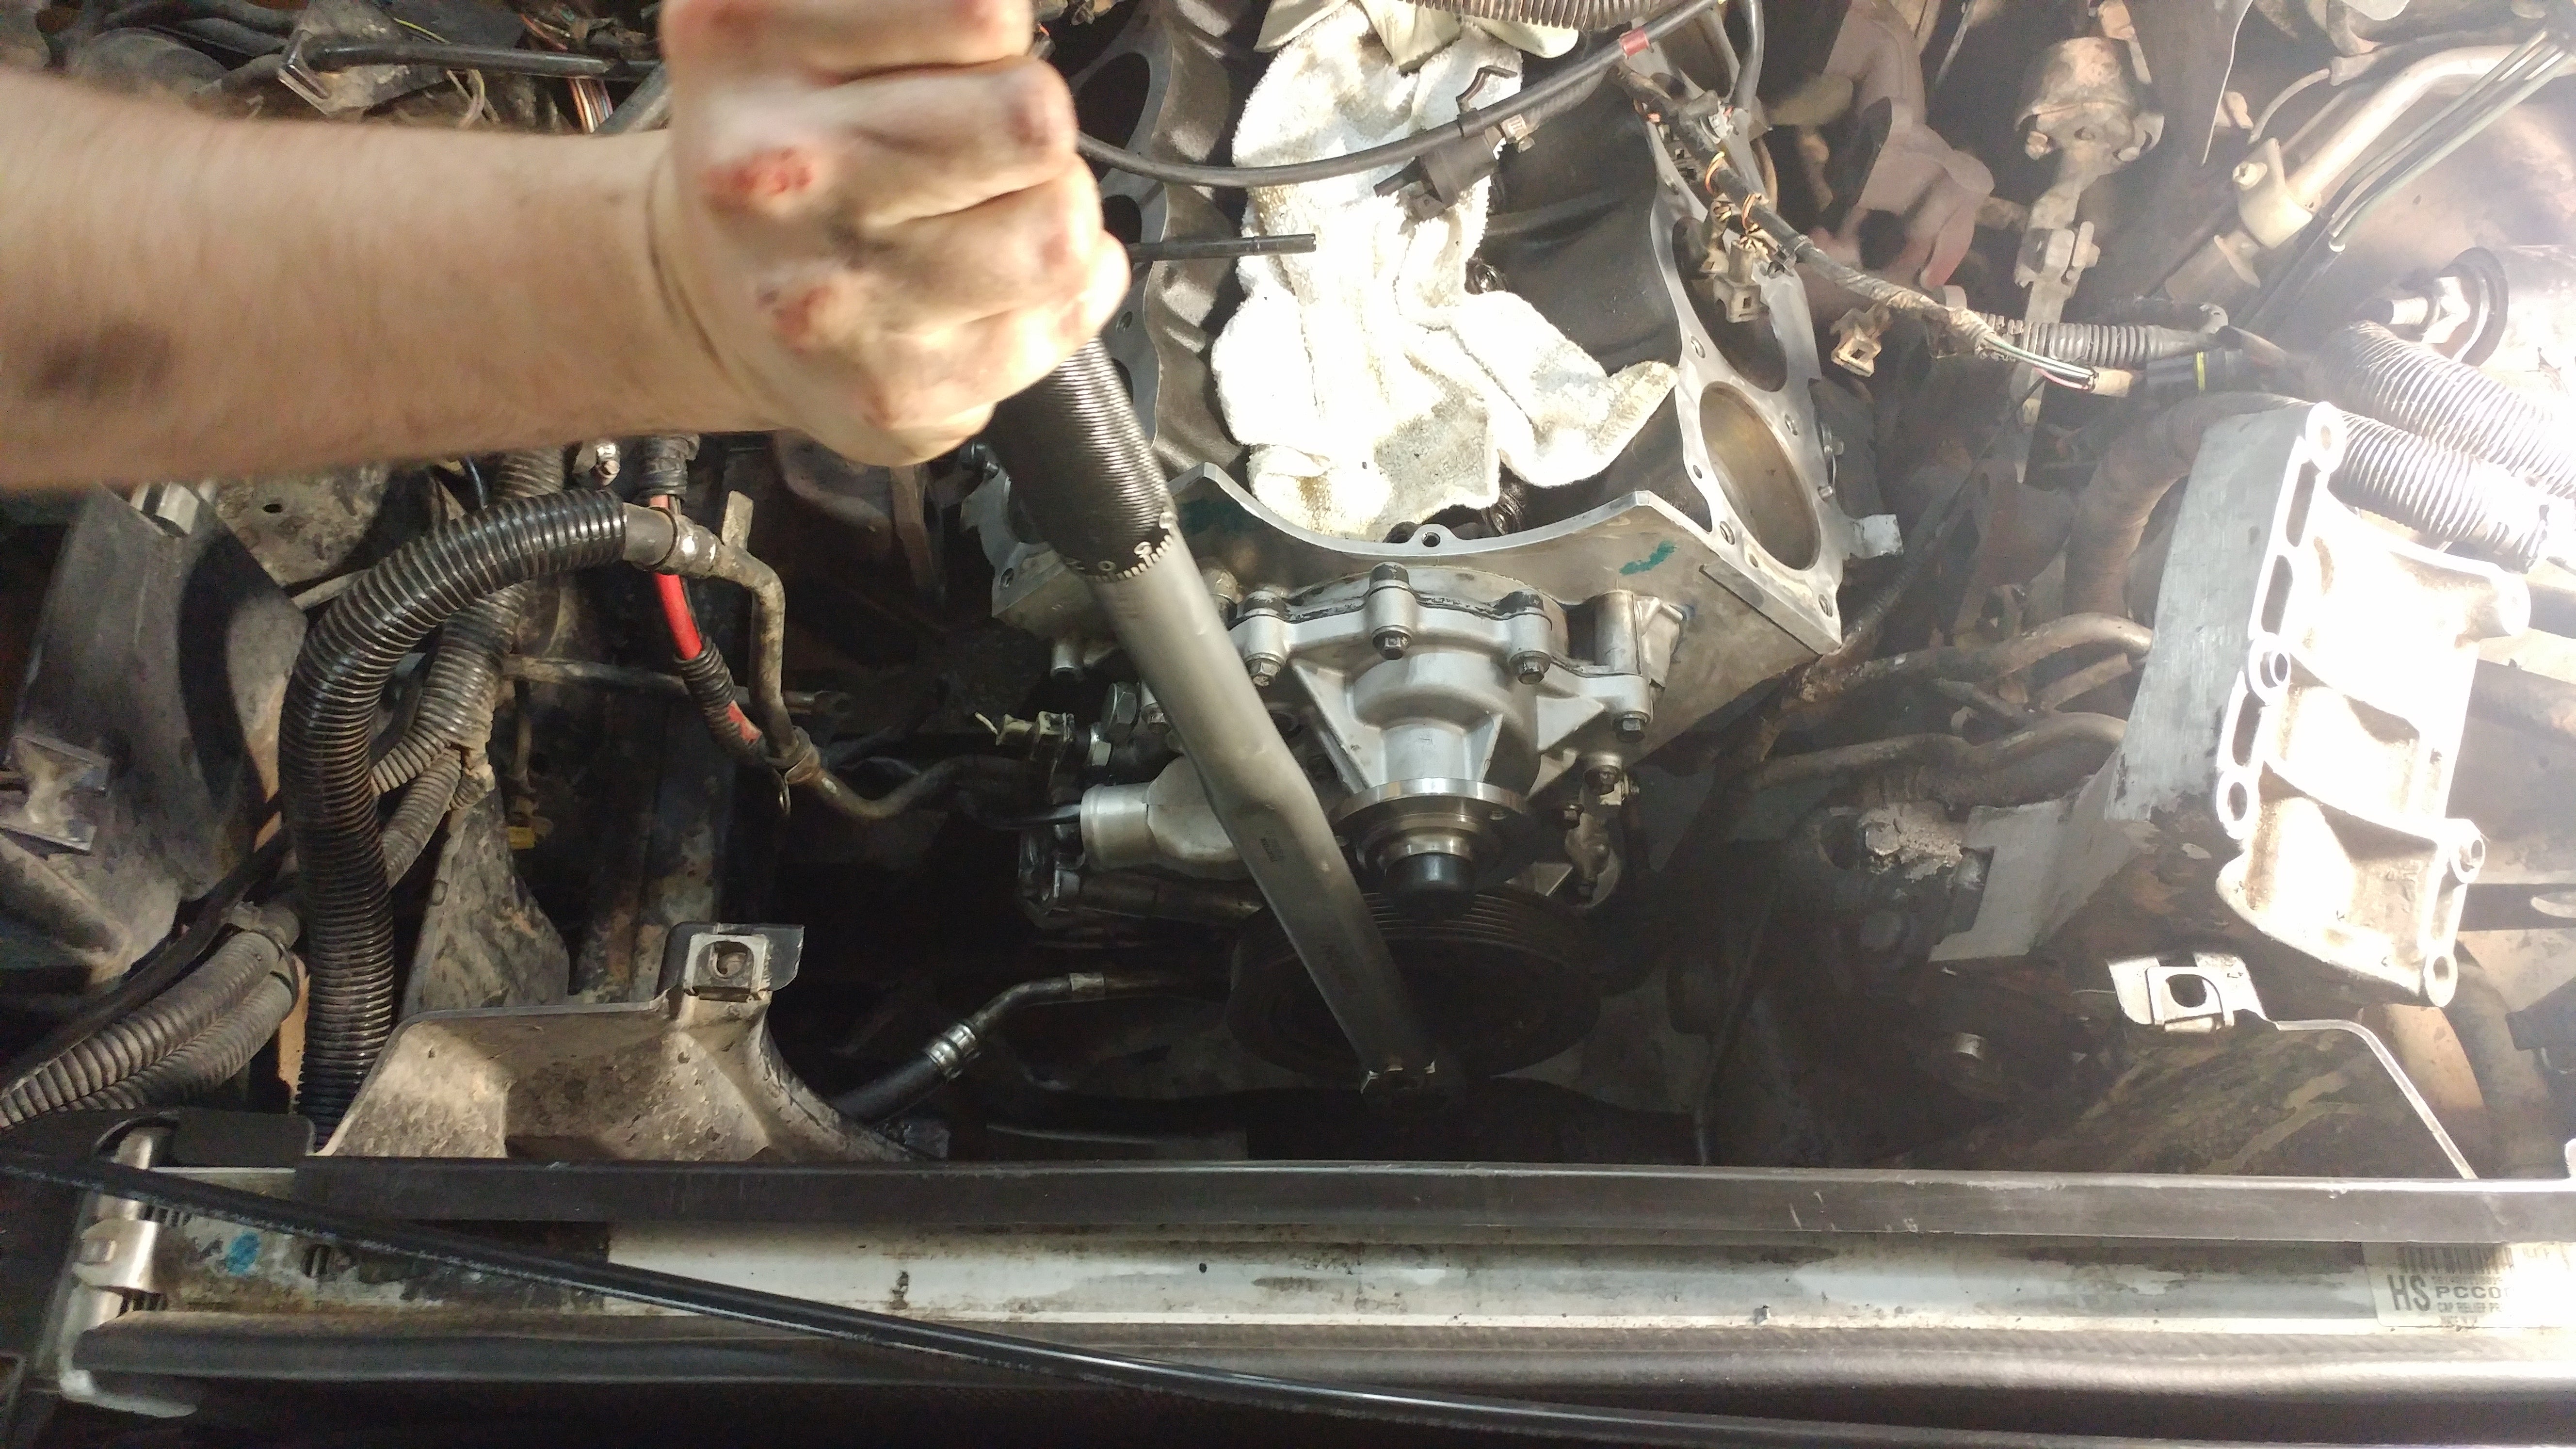
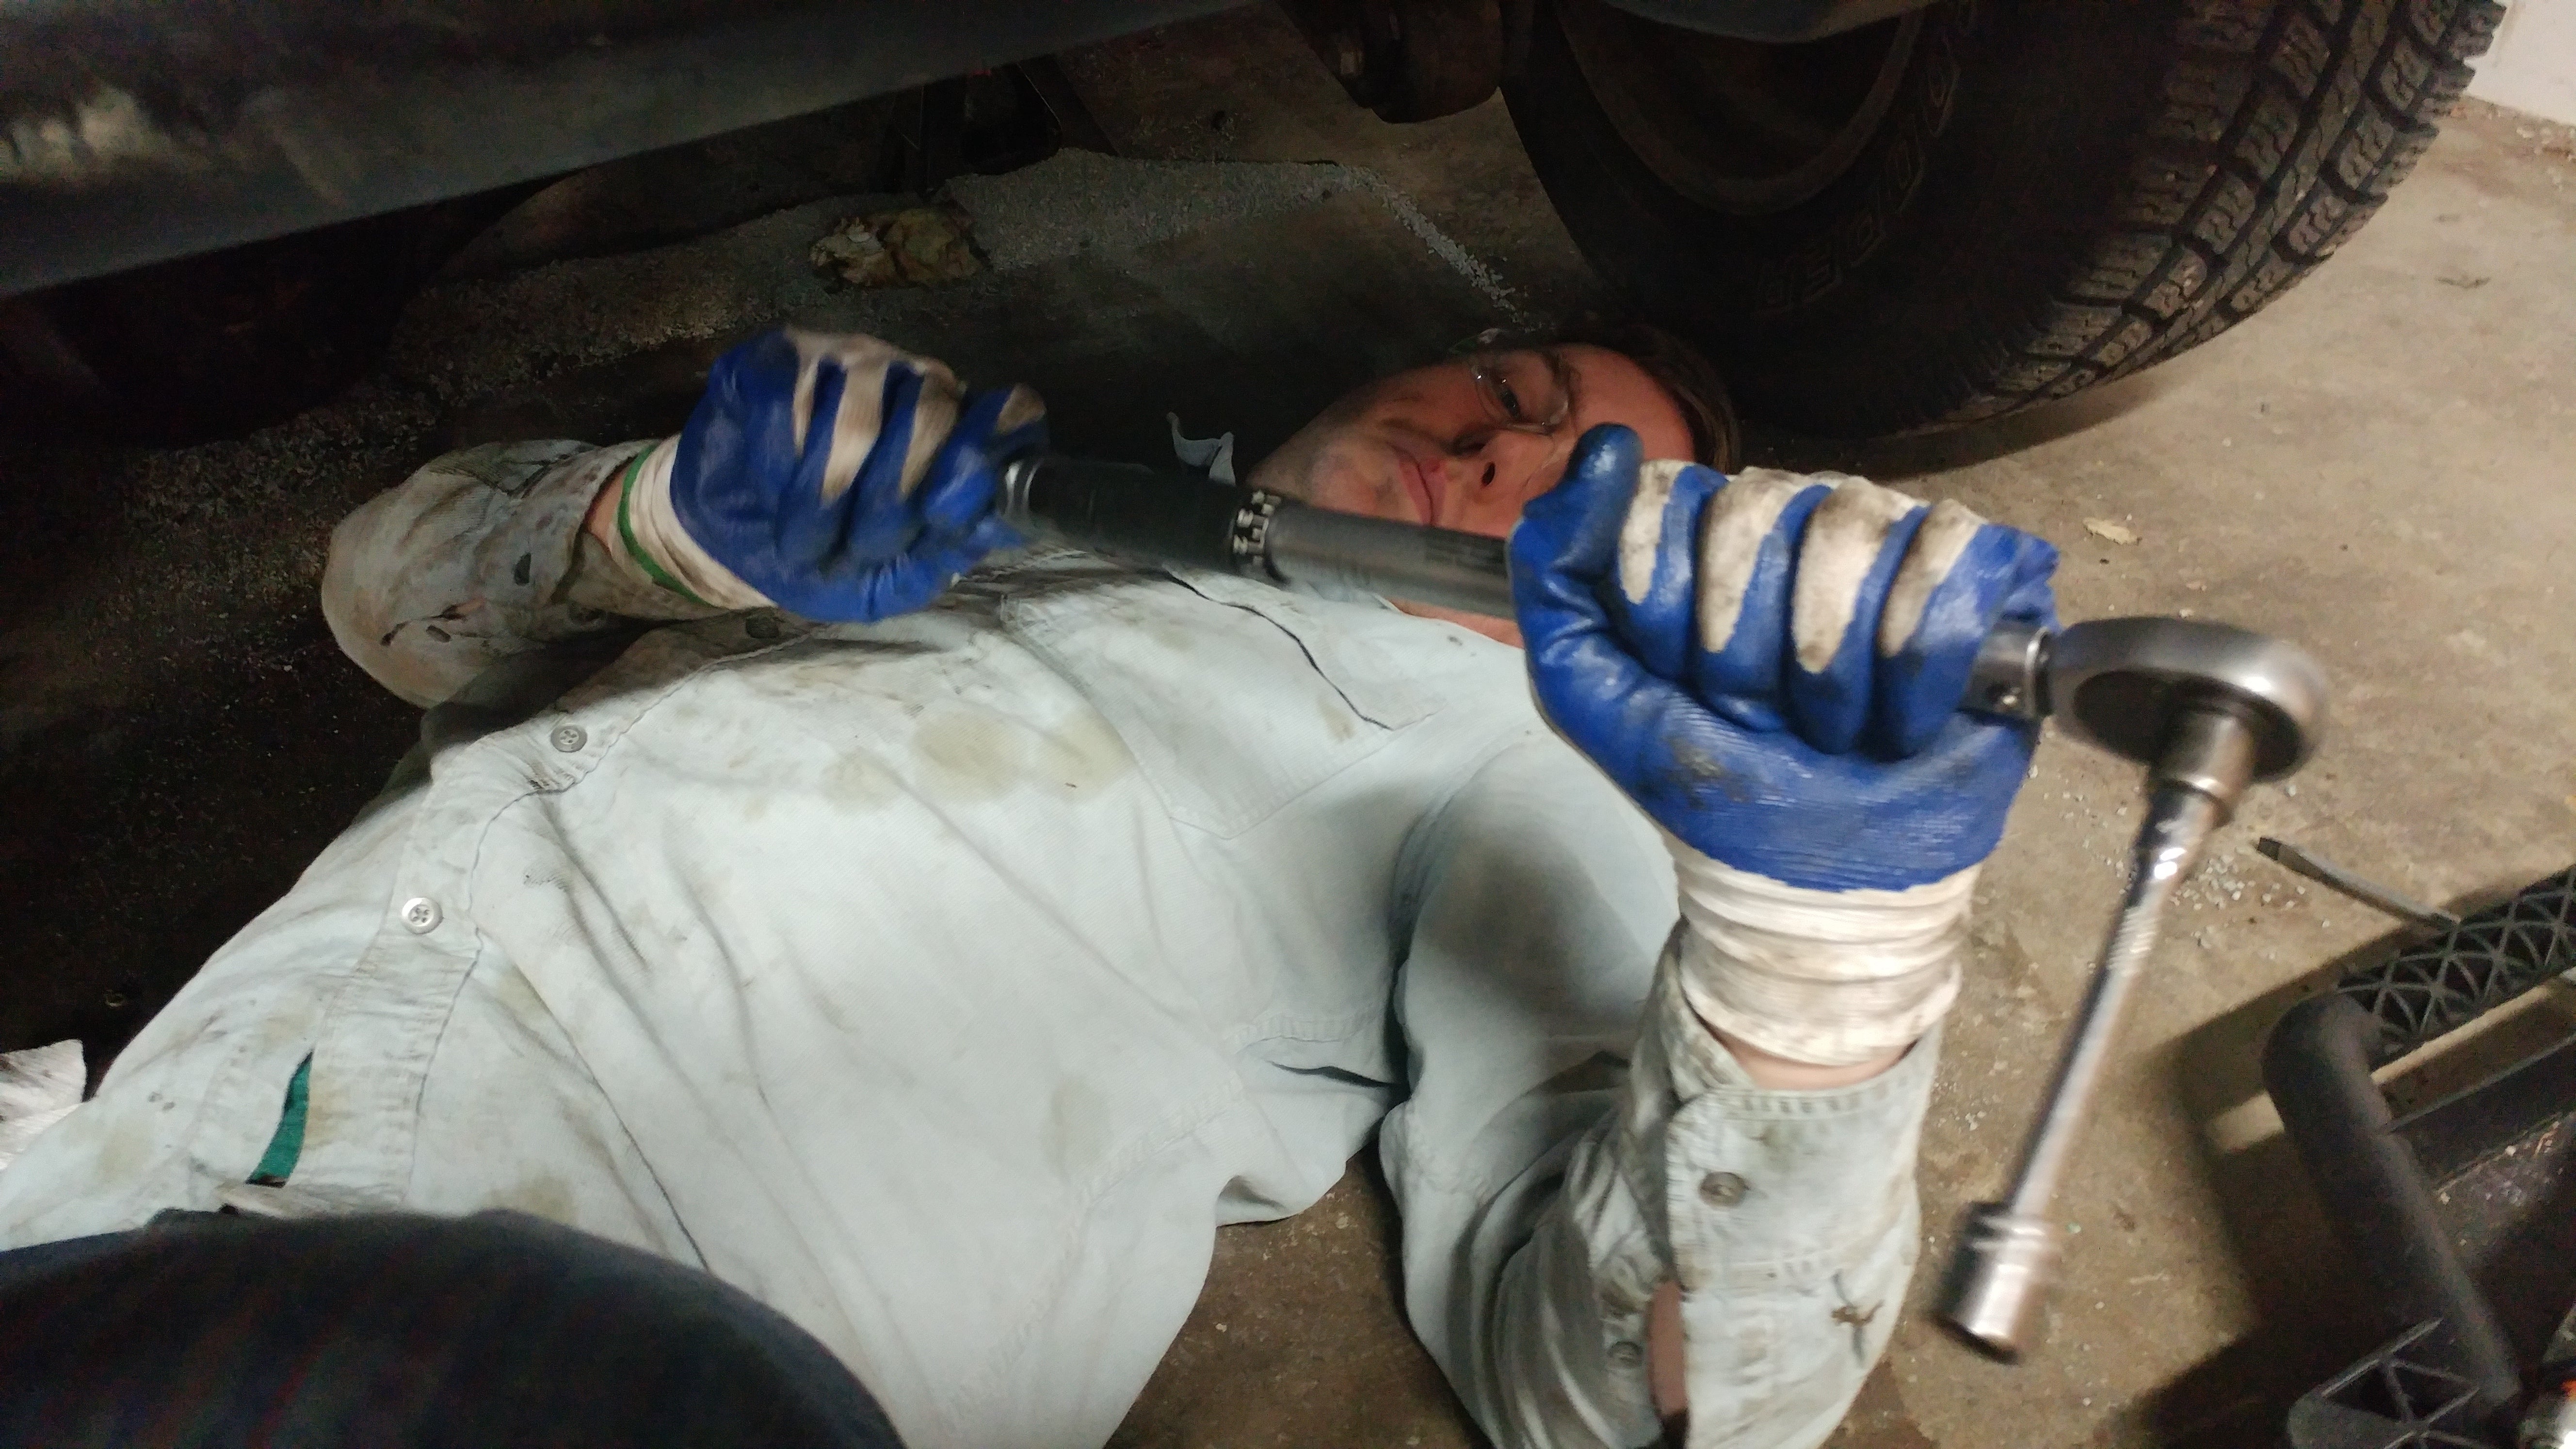
The oil pan was next and was pretty thoroughly terrible as well. maneuvering a clean gasket around transmission cooler lines, axles, and other crap that all wanted to contaminate the sealing surface was... interesting. Also, due to the construction of the engine, you have to use RTV in a couple places so you pretty much get one shot to secure the pan.
This operation is where fun goes to die.
Anyway.
Alright, finally we can get down to business...
The business of procrastination
Seriously though, I am a little ashamed to admit I spent a lot of time in the garage dreading this next part. All my adult life head gaskets were this mythical, magical thing that was equal parts fragile, tough as nails, critical, and critically expensive. My introduction to Project Dumpster Fire was when, in 2001(ish), my uncle blew the head gasket and gave it to my parents in exchange for paying the $4,300 shop bill.
Now I was finally staring at the very real need to install two head gaskets and, hopefully, no fuck it up.
Joy.
The majority of my procrastination centered around doing other things. Cleaning unrelated mating surfaces, cleaning tools, installing spark plugs... you know. The usual. I also went ahead and cleaned out all the bolt holes, which was gross.
I also took some time to pressure test the radiator... which went well.
And by well I meant shite.
If you remember in the before time, I managed to firmly embed a pulley puller into the radiator. While I have everything disassembled, I figured it was prudent to pressure check the radiator to make sure I hadn’t damaged anything. I put plugs in the outlet and the little upper thingy (technical term) and installed my pressure tester into the radiator inlet.
And it passed! Sort of... The pressure wasn’t gushing out, but it also wasn’t holding. My pressure tester was approximately the same size as the radiator inlet so the fit wasn’t perfect. I removed it, lubed it, and really rammed it home to see if I could get a better seal.
Anyone see where this is going?
Yeah, the radiator inlet promptly split in two.
New radiator will be here on Friday.
Moving on...
Well, eventually I manned up and did a final wipe down of the heads and block with alcohol and a microfiber rag, blew everything out with compressed air, installed a couple studs as guides and began to fit the head.
As you might expect, it didn’t go particularly smoothly.
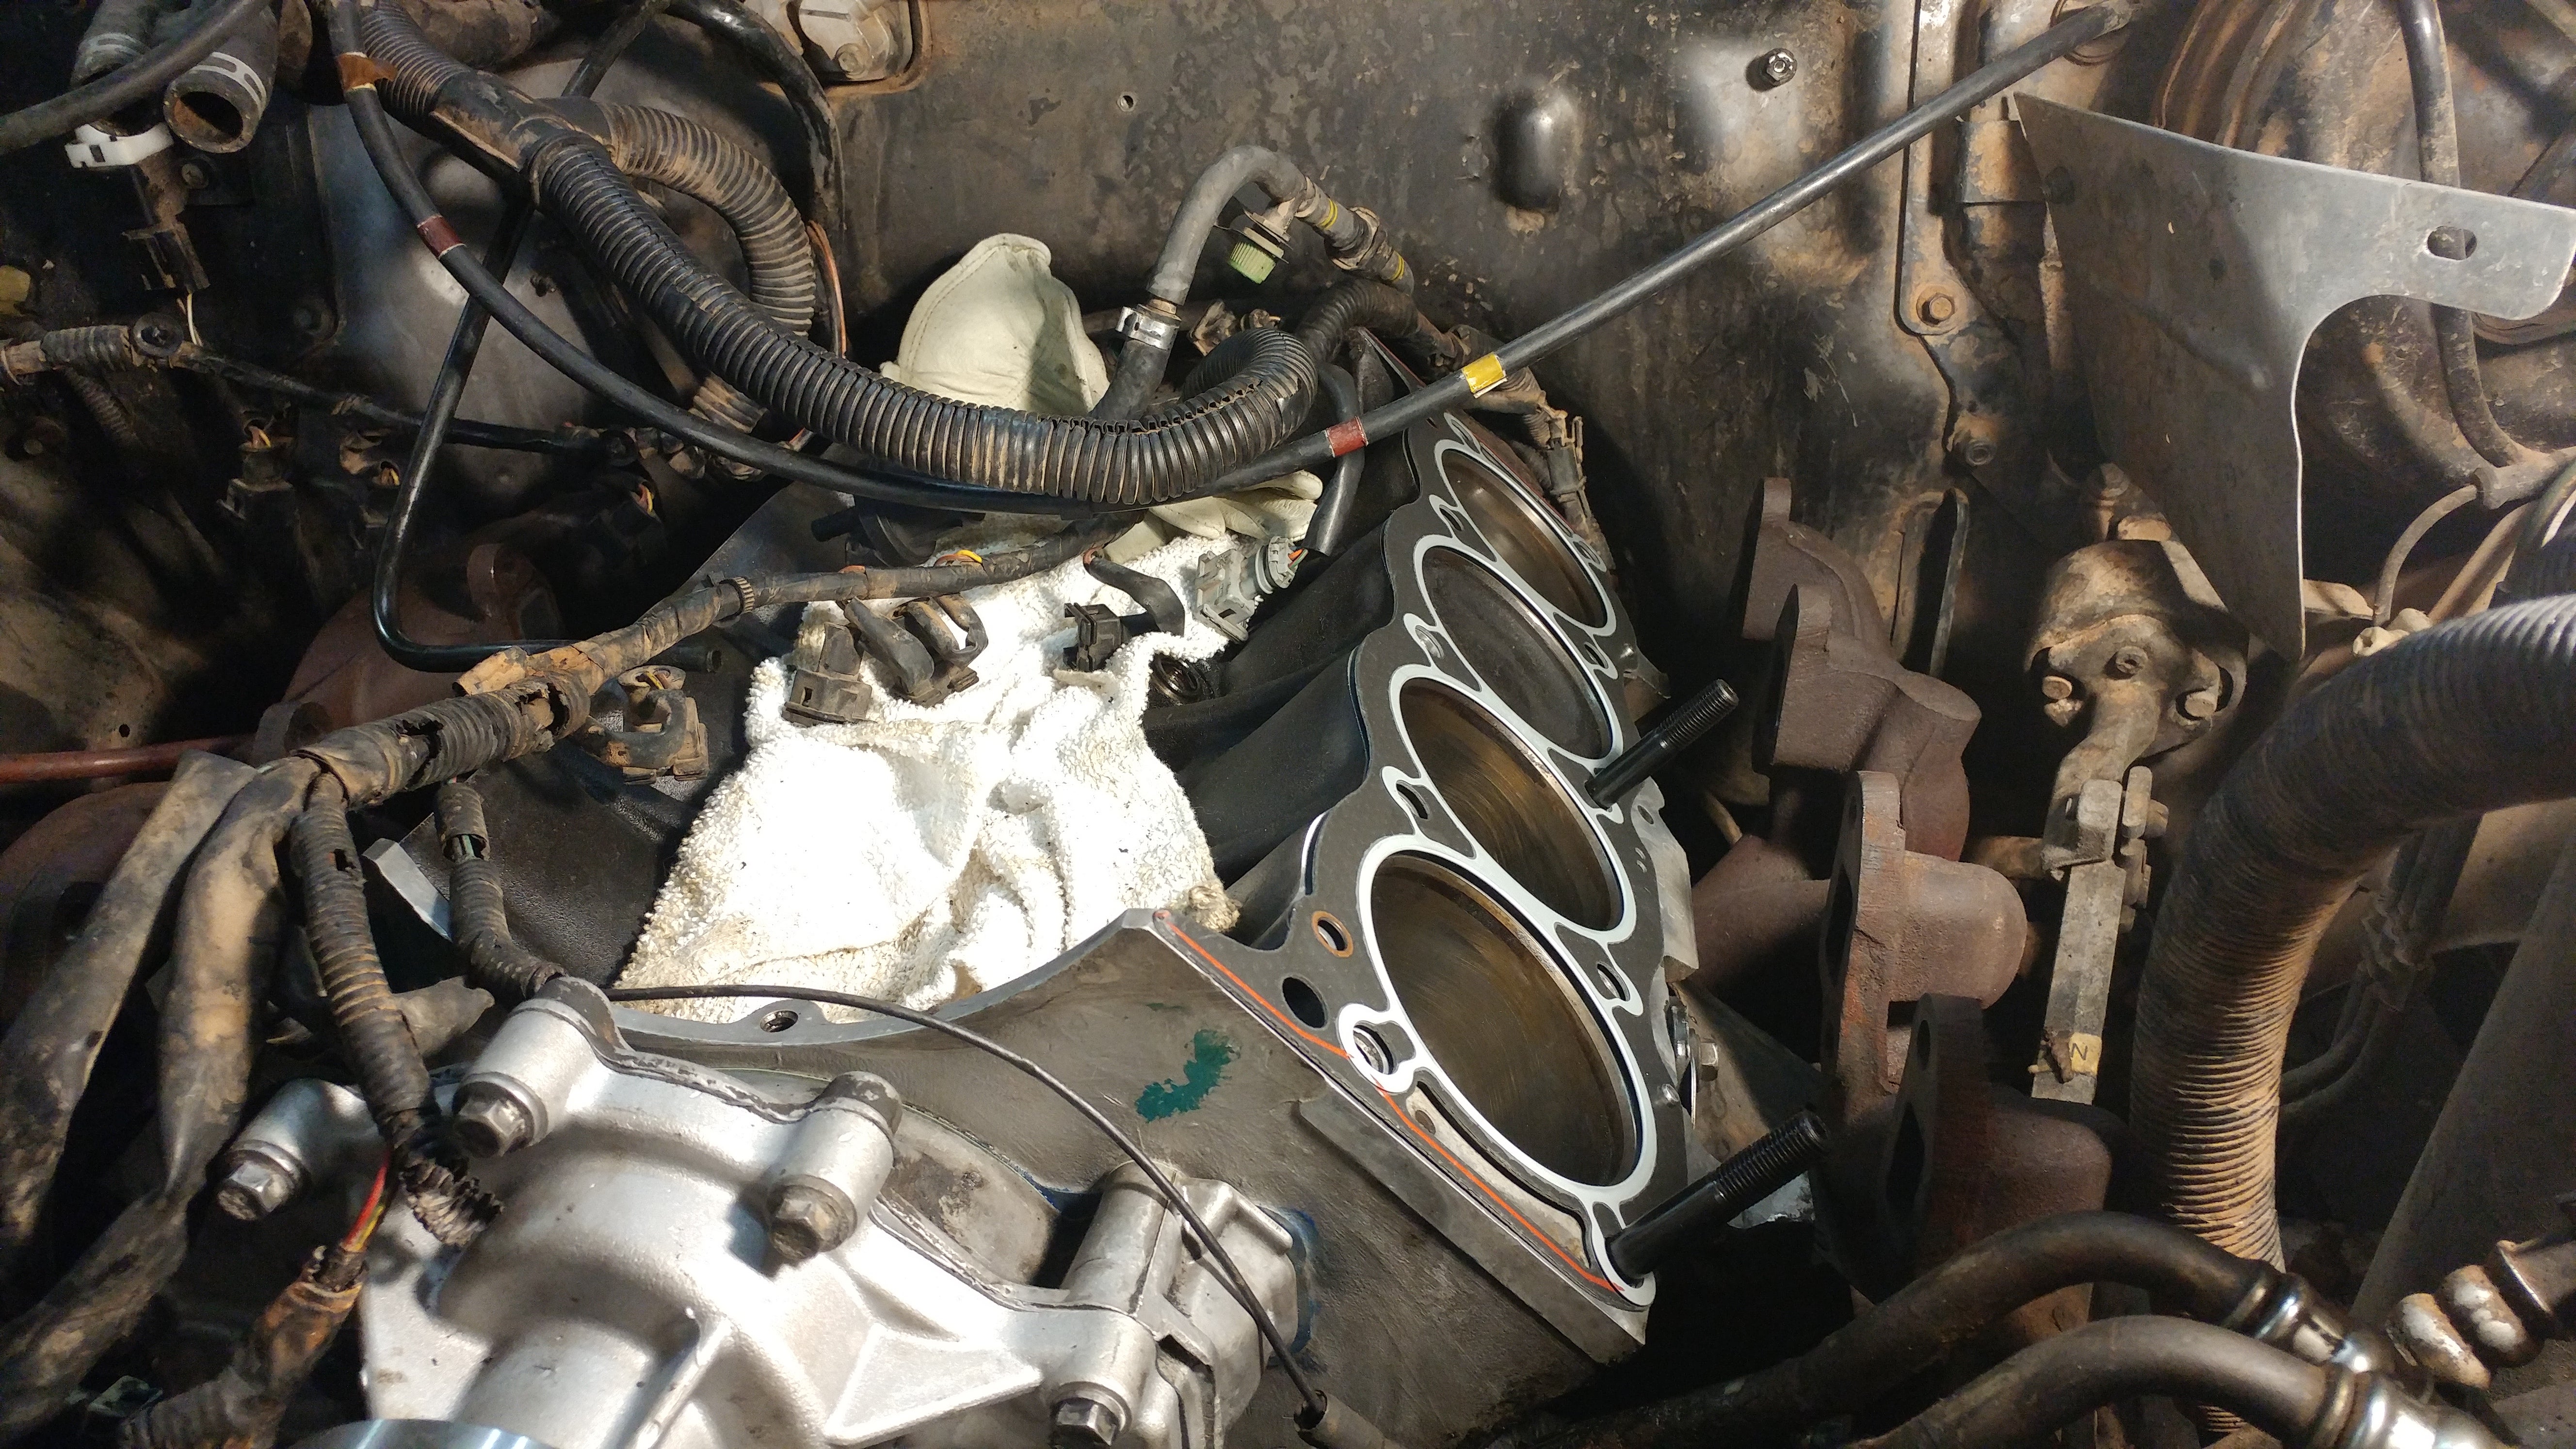
First off, the two studs you see there were too much for the head to overcome and I had to remove the far one. Due to the shape of the firewall, the bracket on the back of the head that is meant to hold a wiring harness kept interfering with all the lumps and bumps.
After that we got it alligned and... it still wasn’t quite on. Turns out all of the instructions and tutotials don’t generally mention that sometimes the guide pins don’t go in readily. (Atlantic British, who make a lot of pretty good tutorial videos, are pretty famous for getting to a difficult or tricky part and then doing a jump cut to that step being finished.)
Not knowing this, we just assumed the head wasn’t perfectly aligned and continued to fiddle... which mostly resulted in minor scratches on the underside of the head which had to be buffed out.
We eventually realized our error was lack of force and whammied that that in with a dead blow, once again.
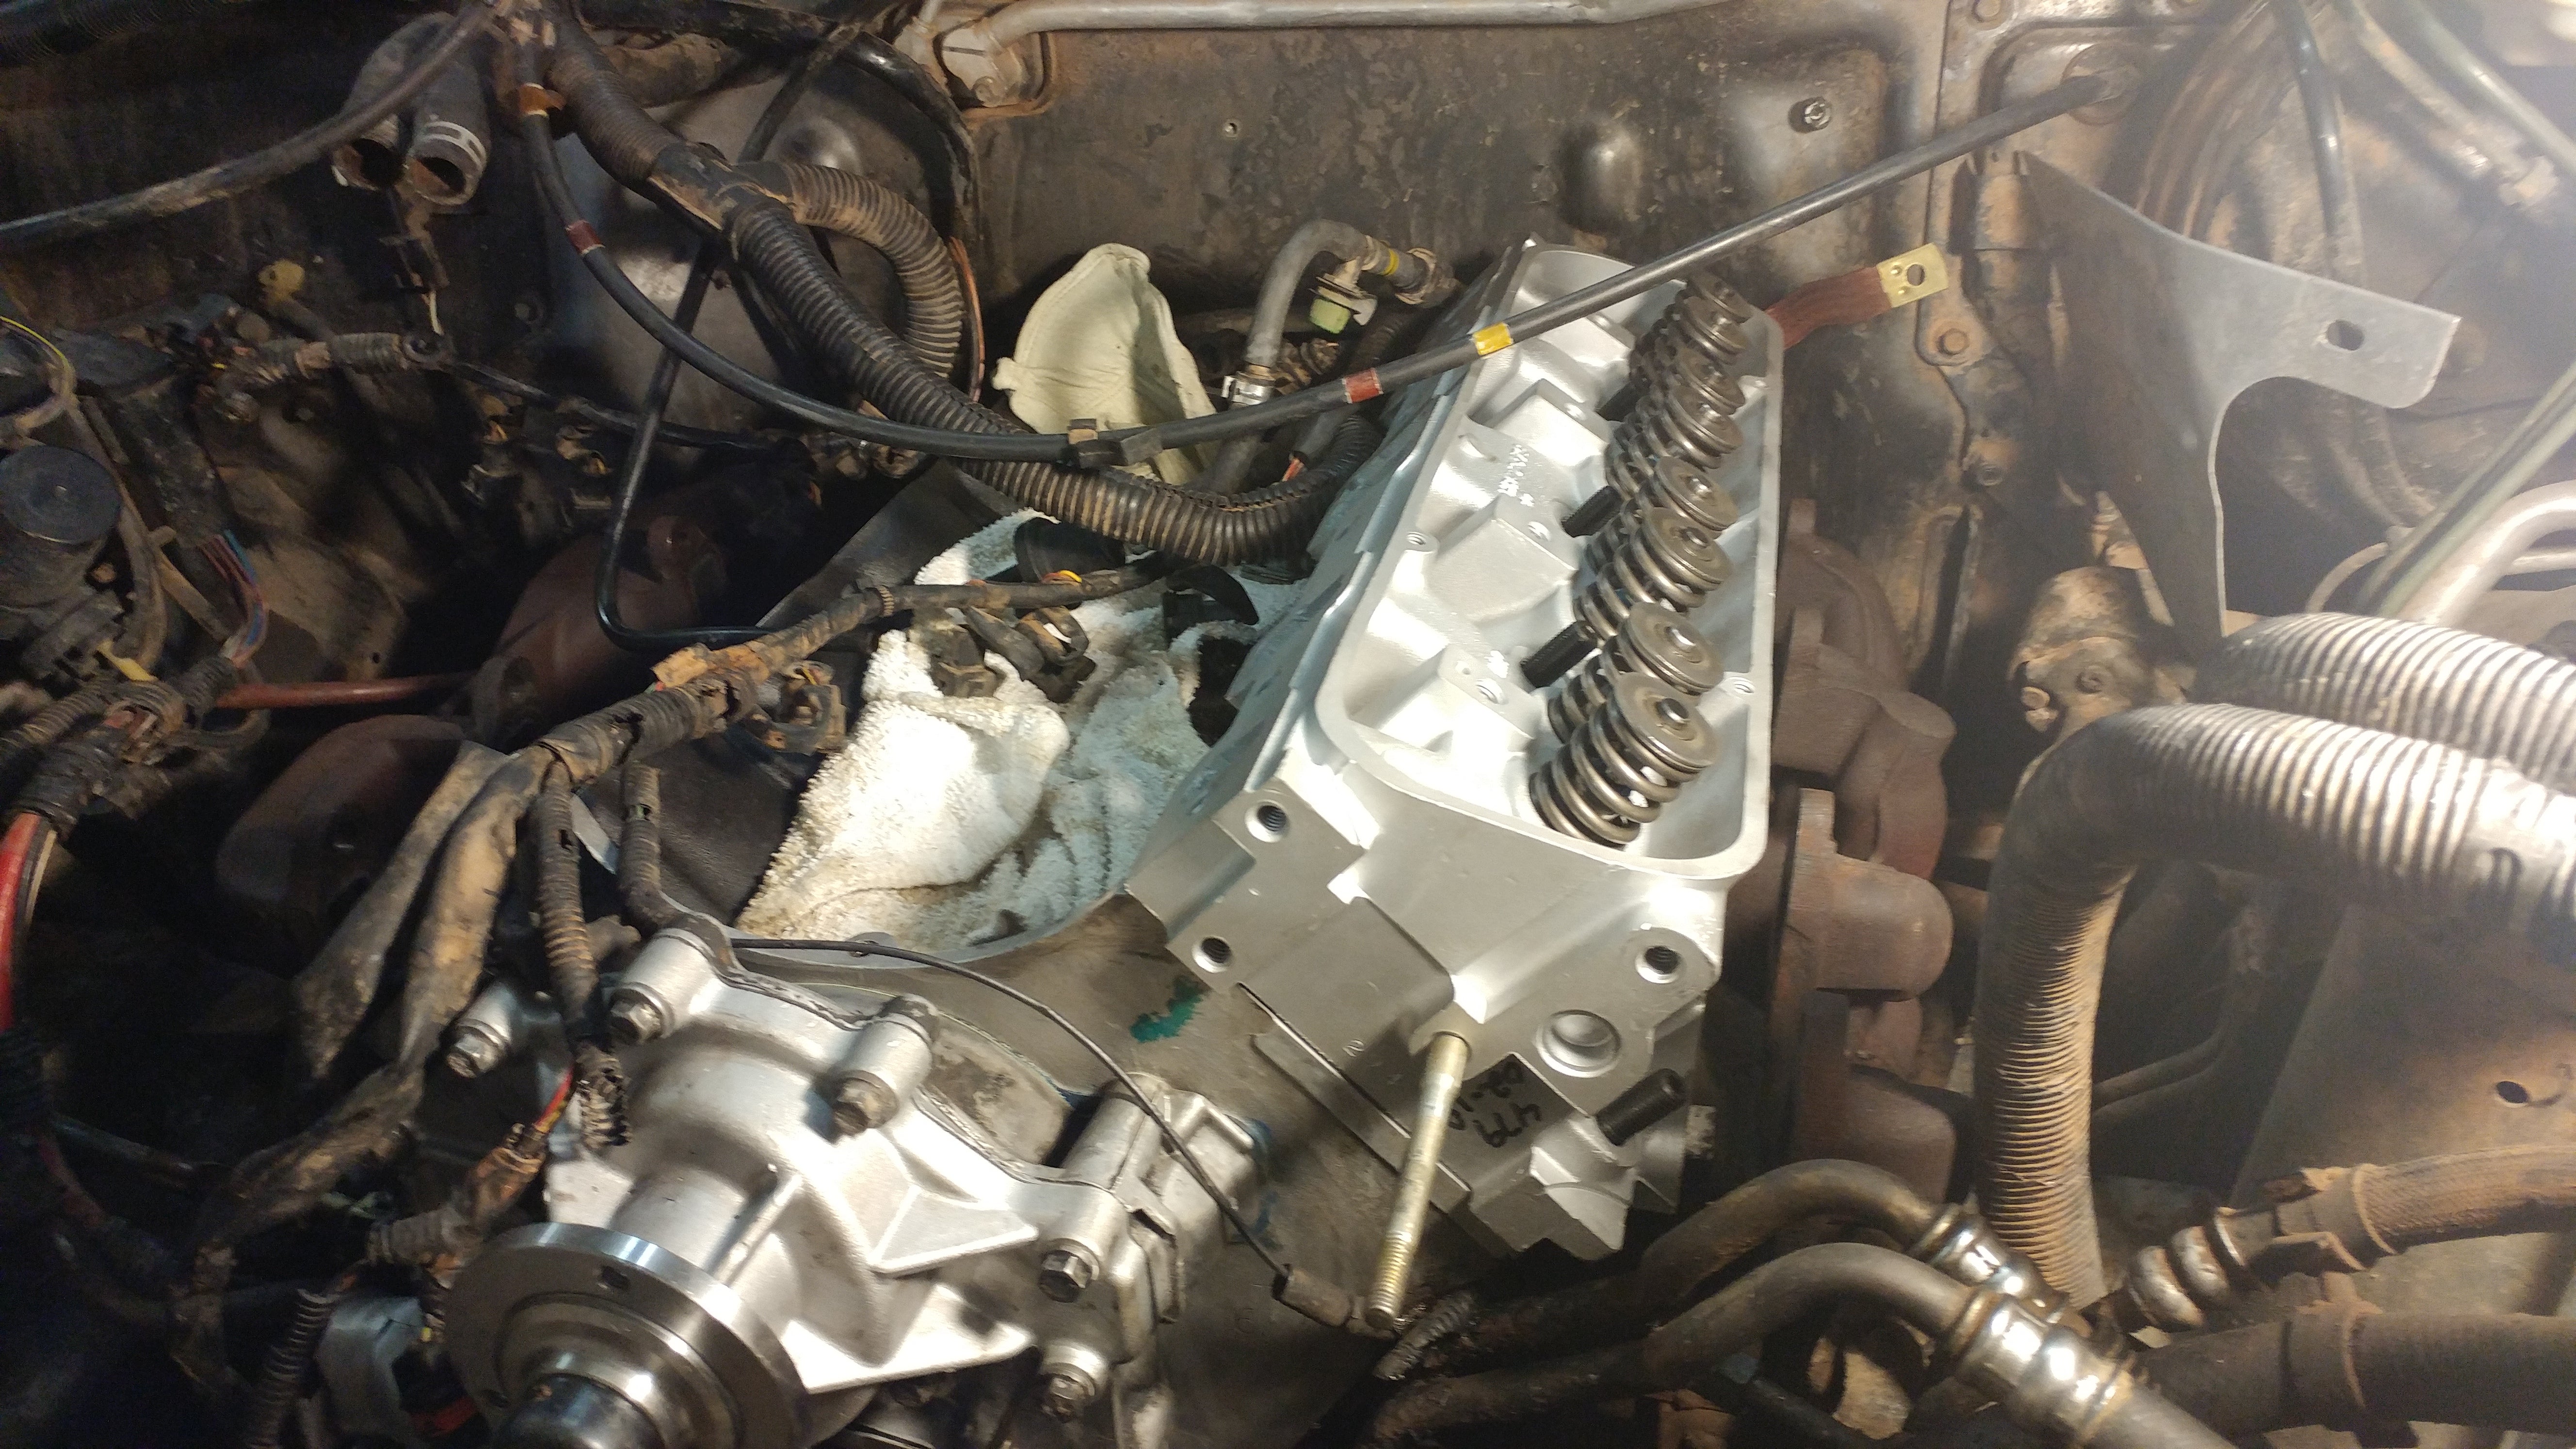
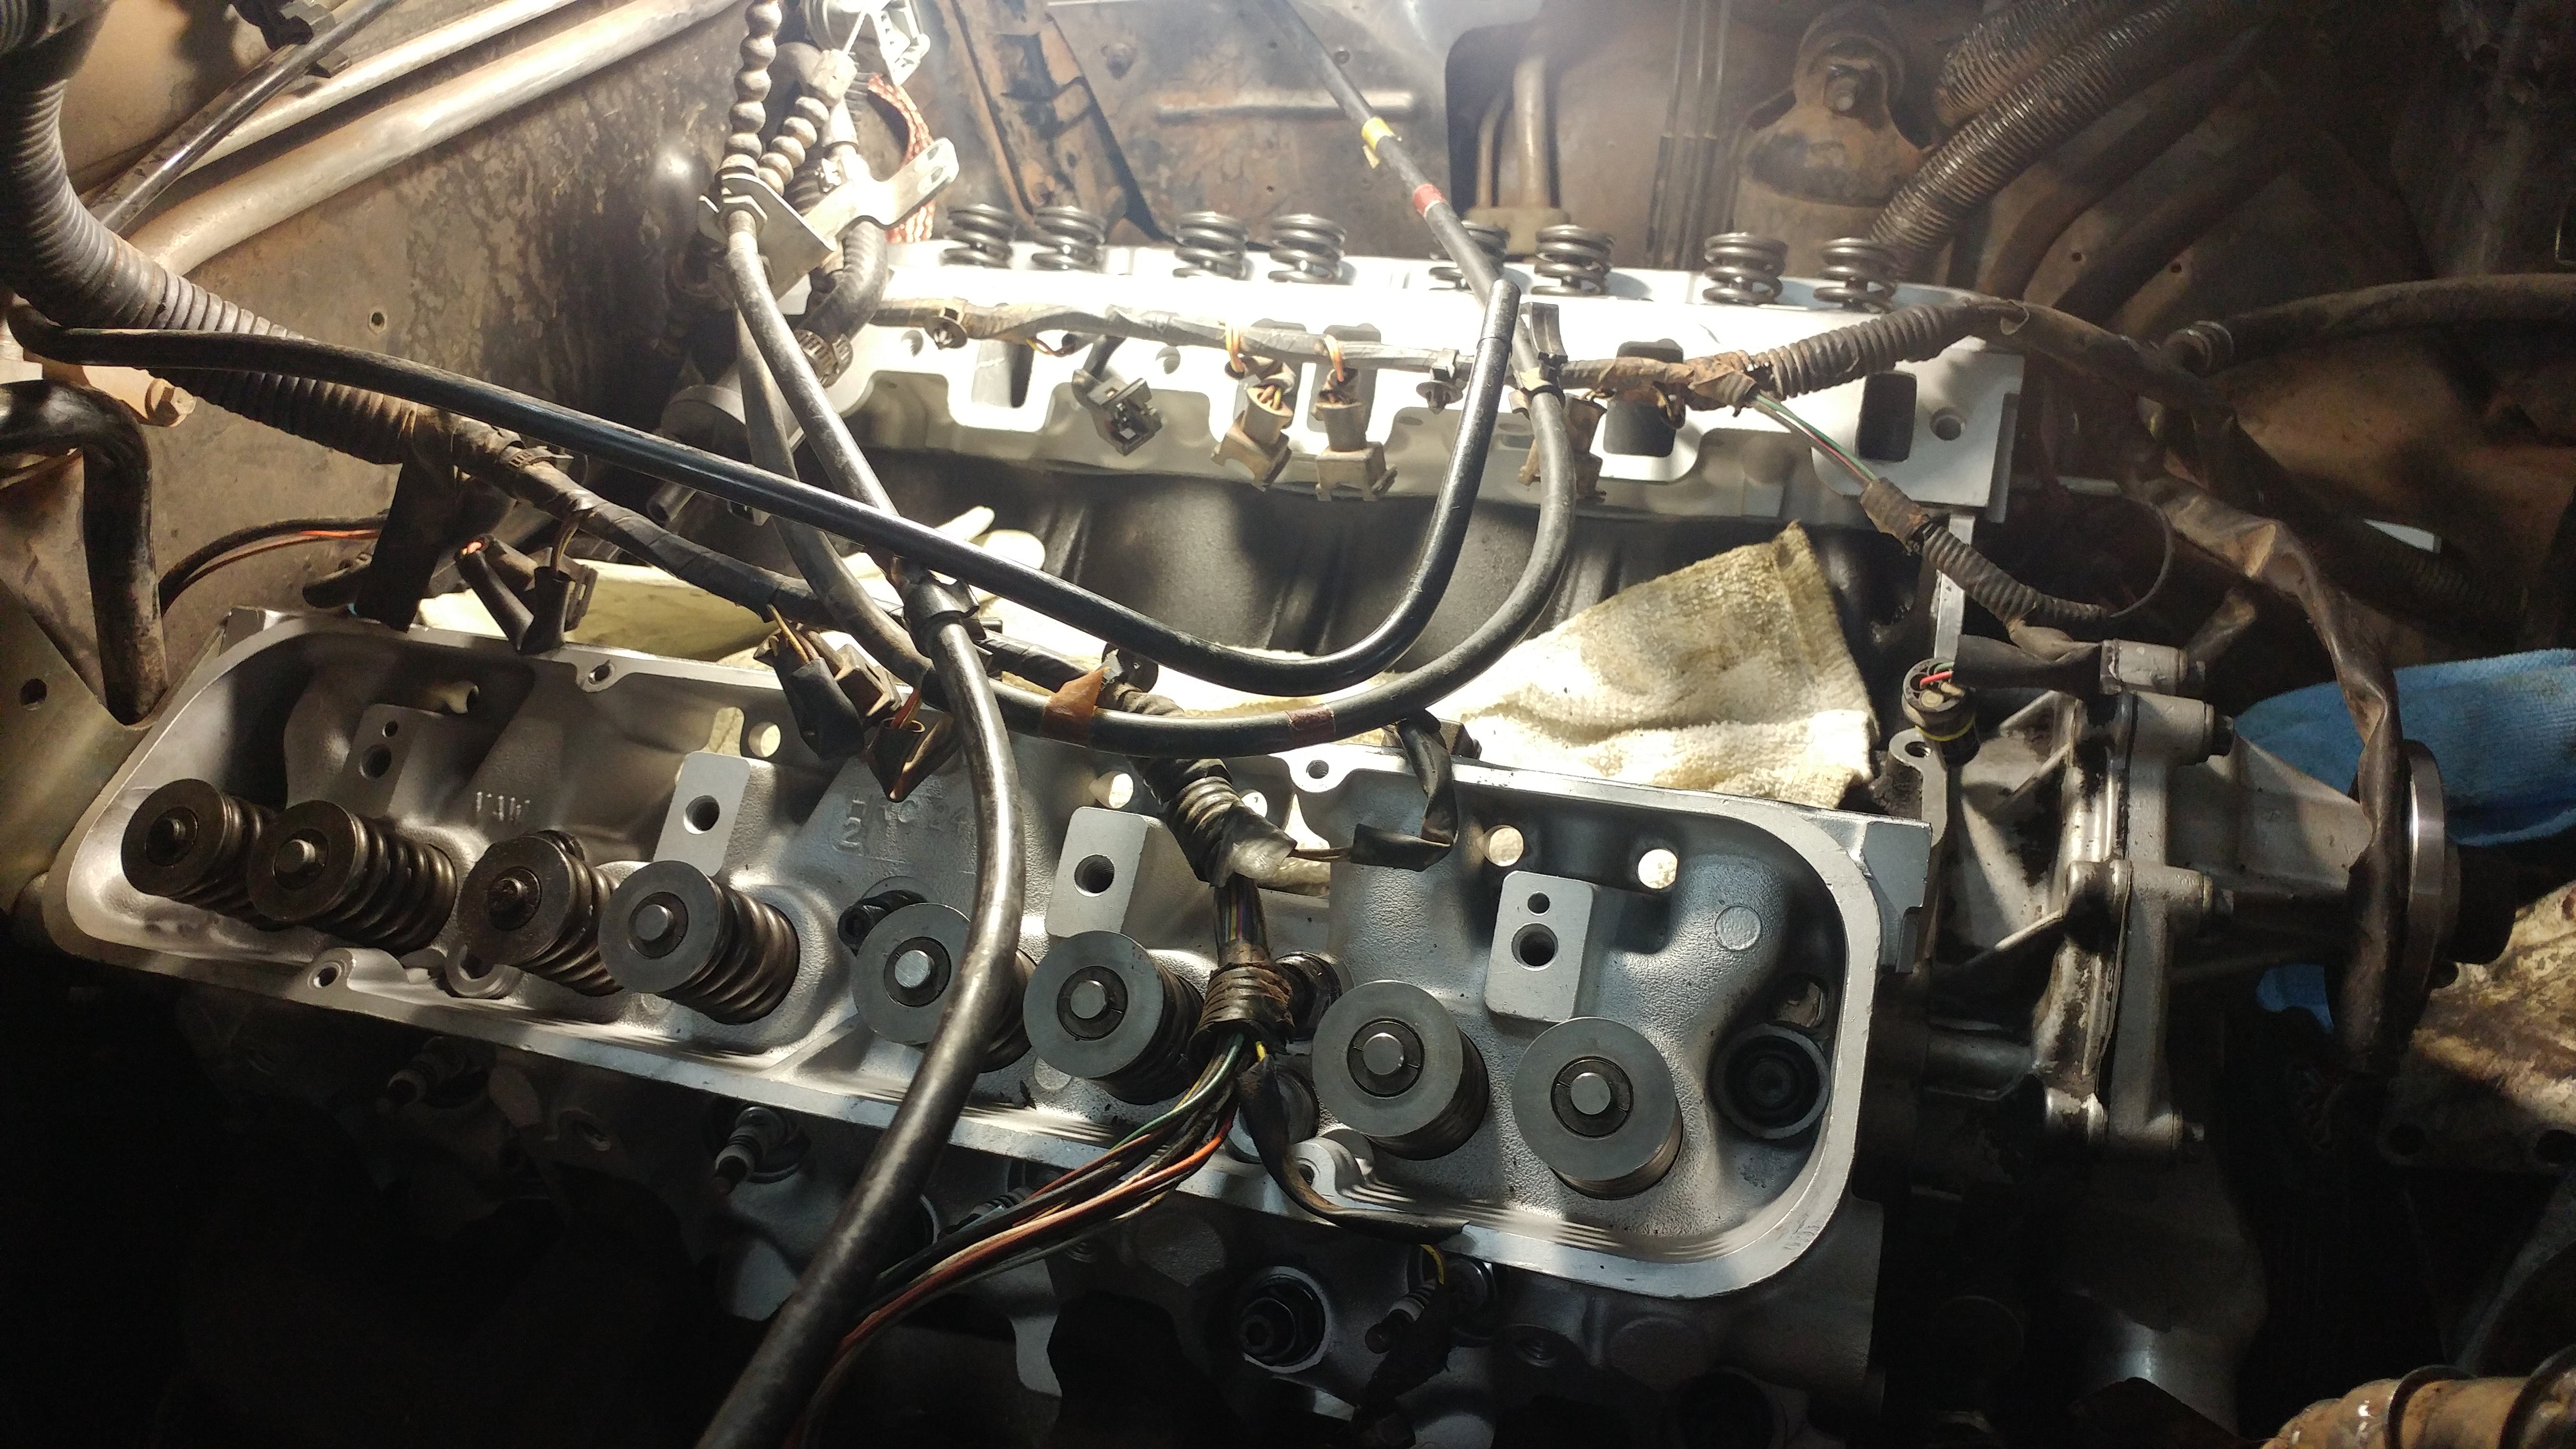
The passenger side went much more smoothly, despite initially binding up on the exhaust manifold, and soon enough we had both heads seated, ready to receive their studs and nuts. (heyo?)
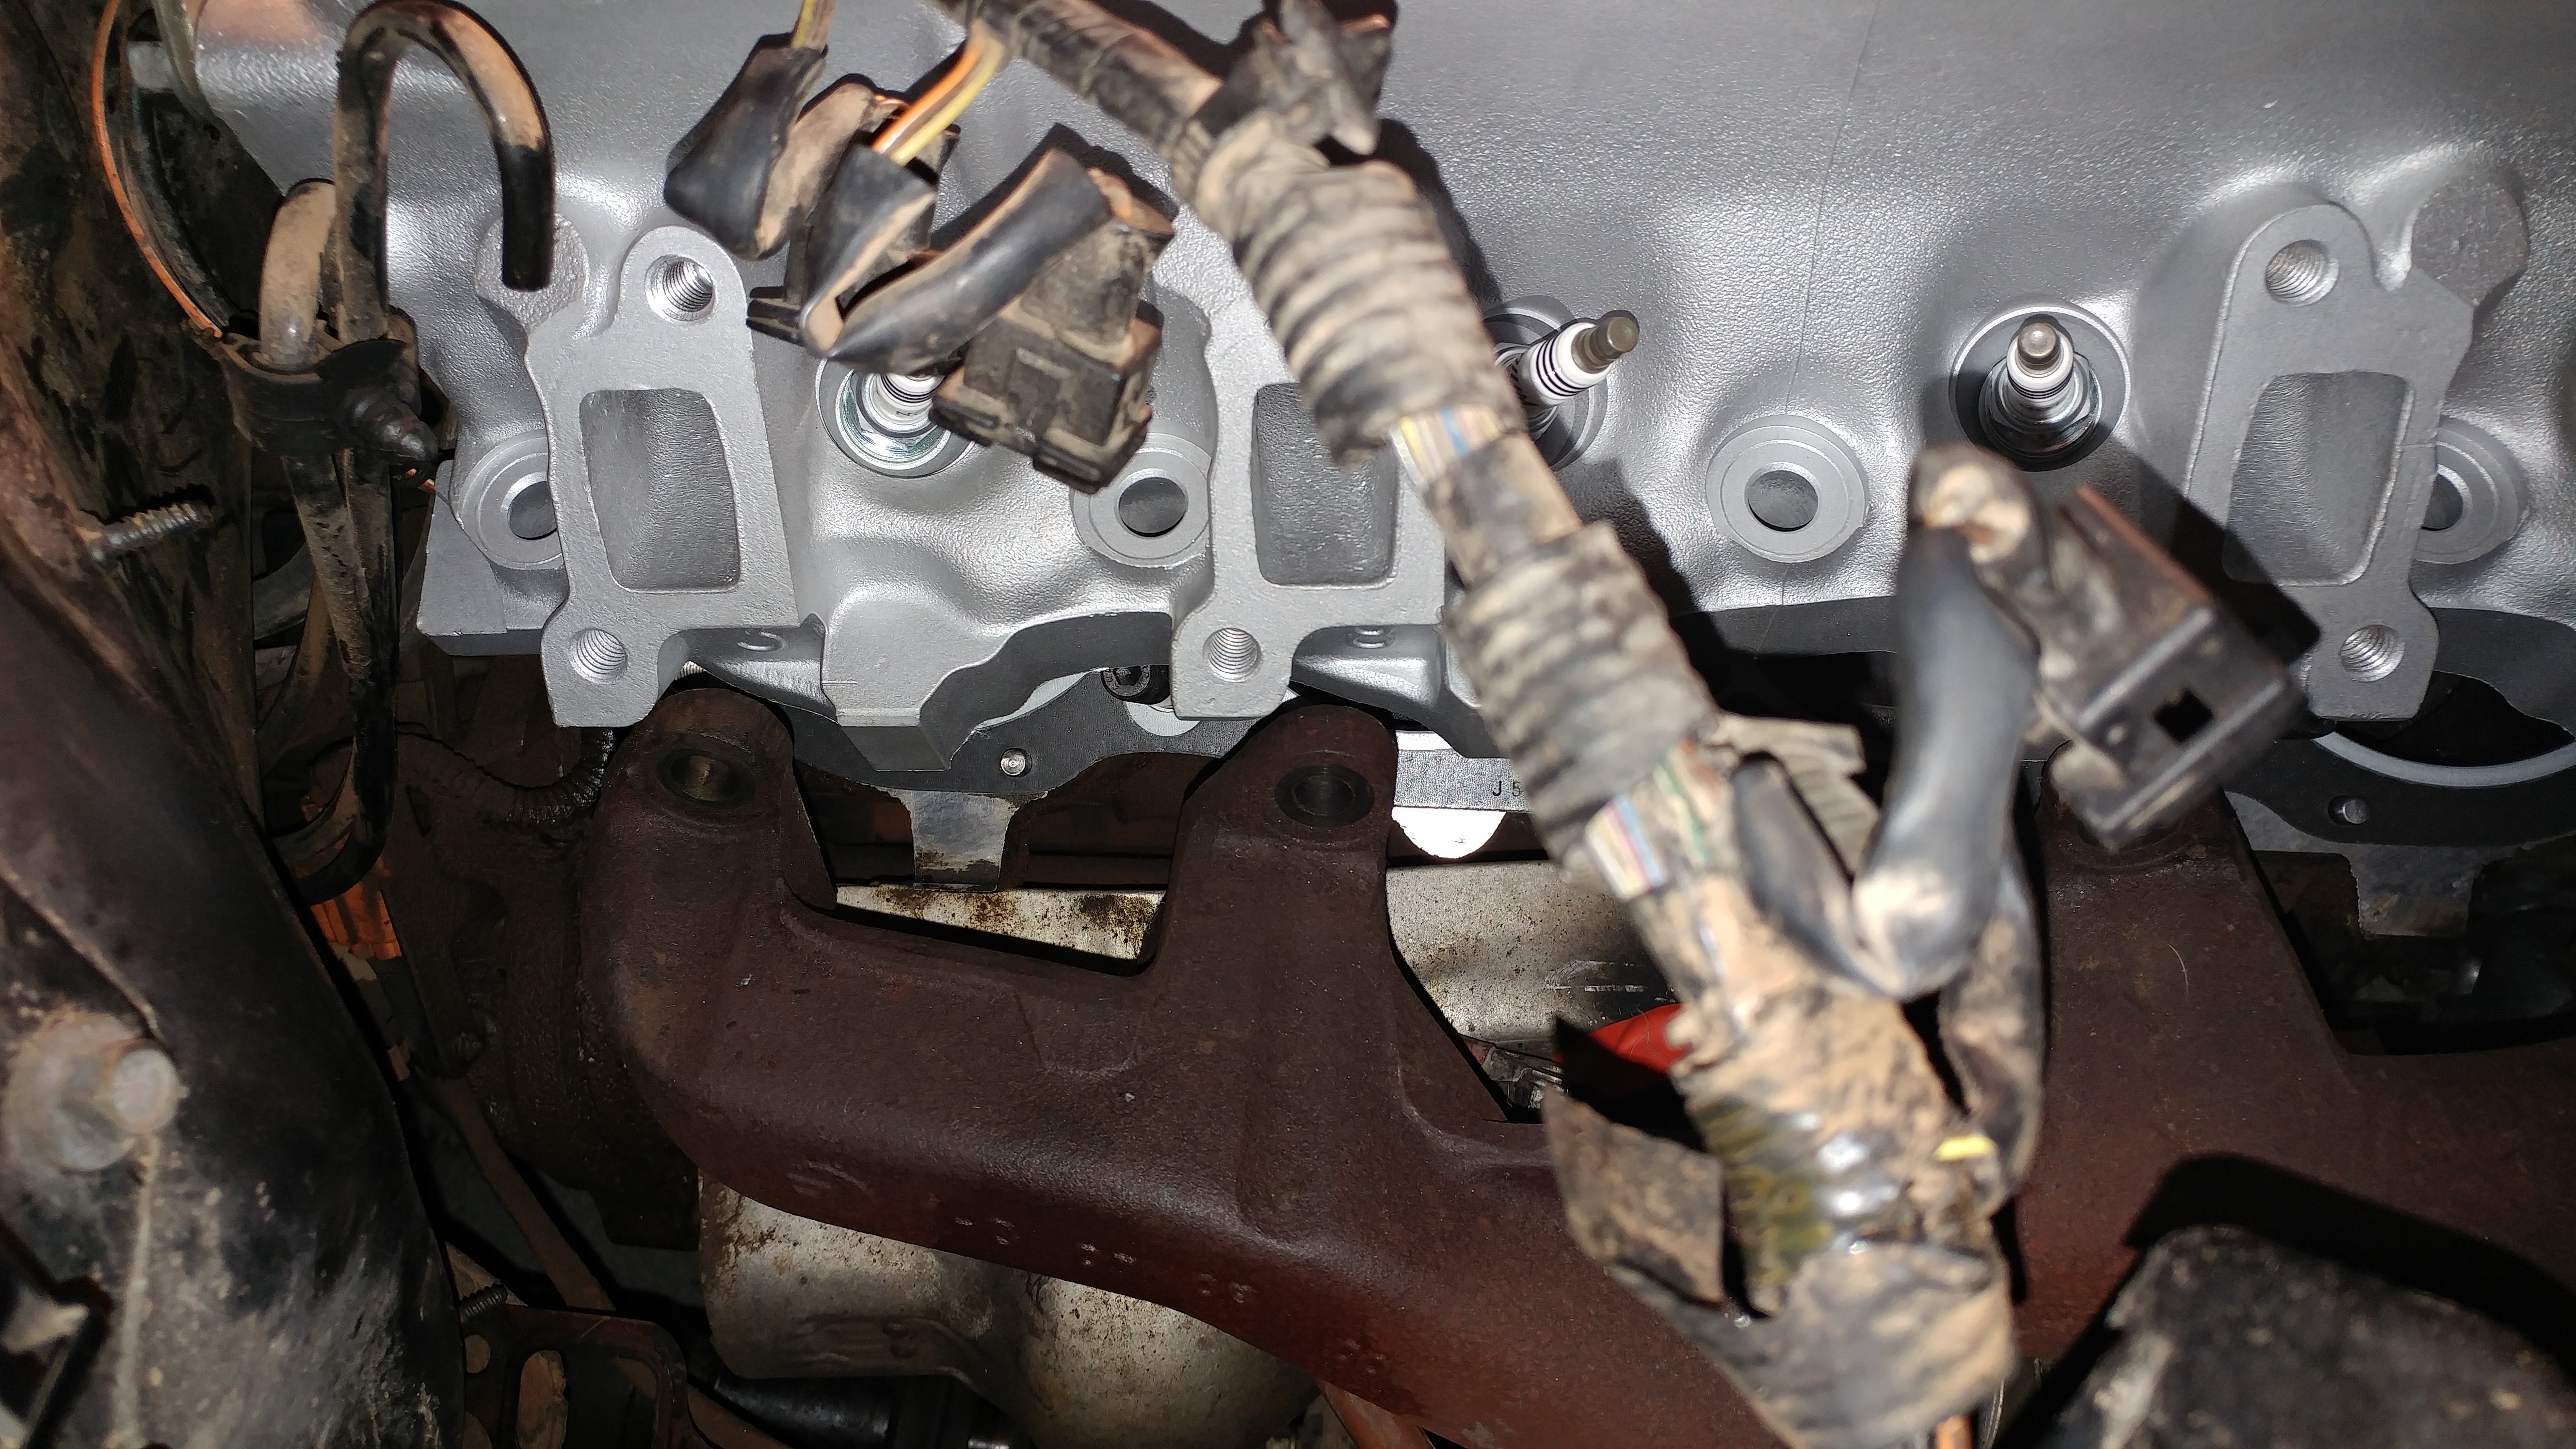
Fun fact: ARP studs ship with the magical lube they say makes you not need to retorque the nuts after a couple thermal cycles. That is super neat! Too bad the entire back of the package is reserved for marketing masturbation rather than... you know... instructions.
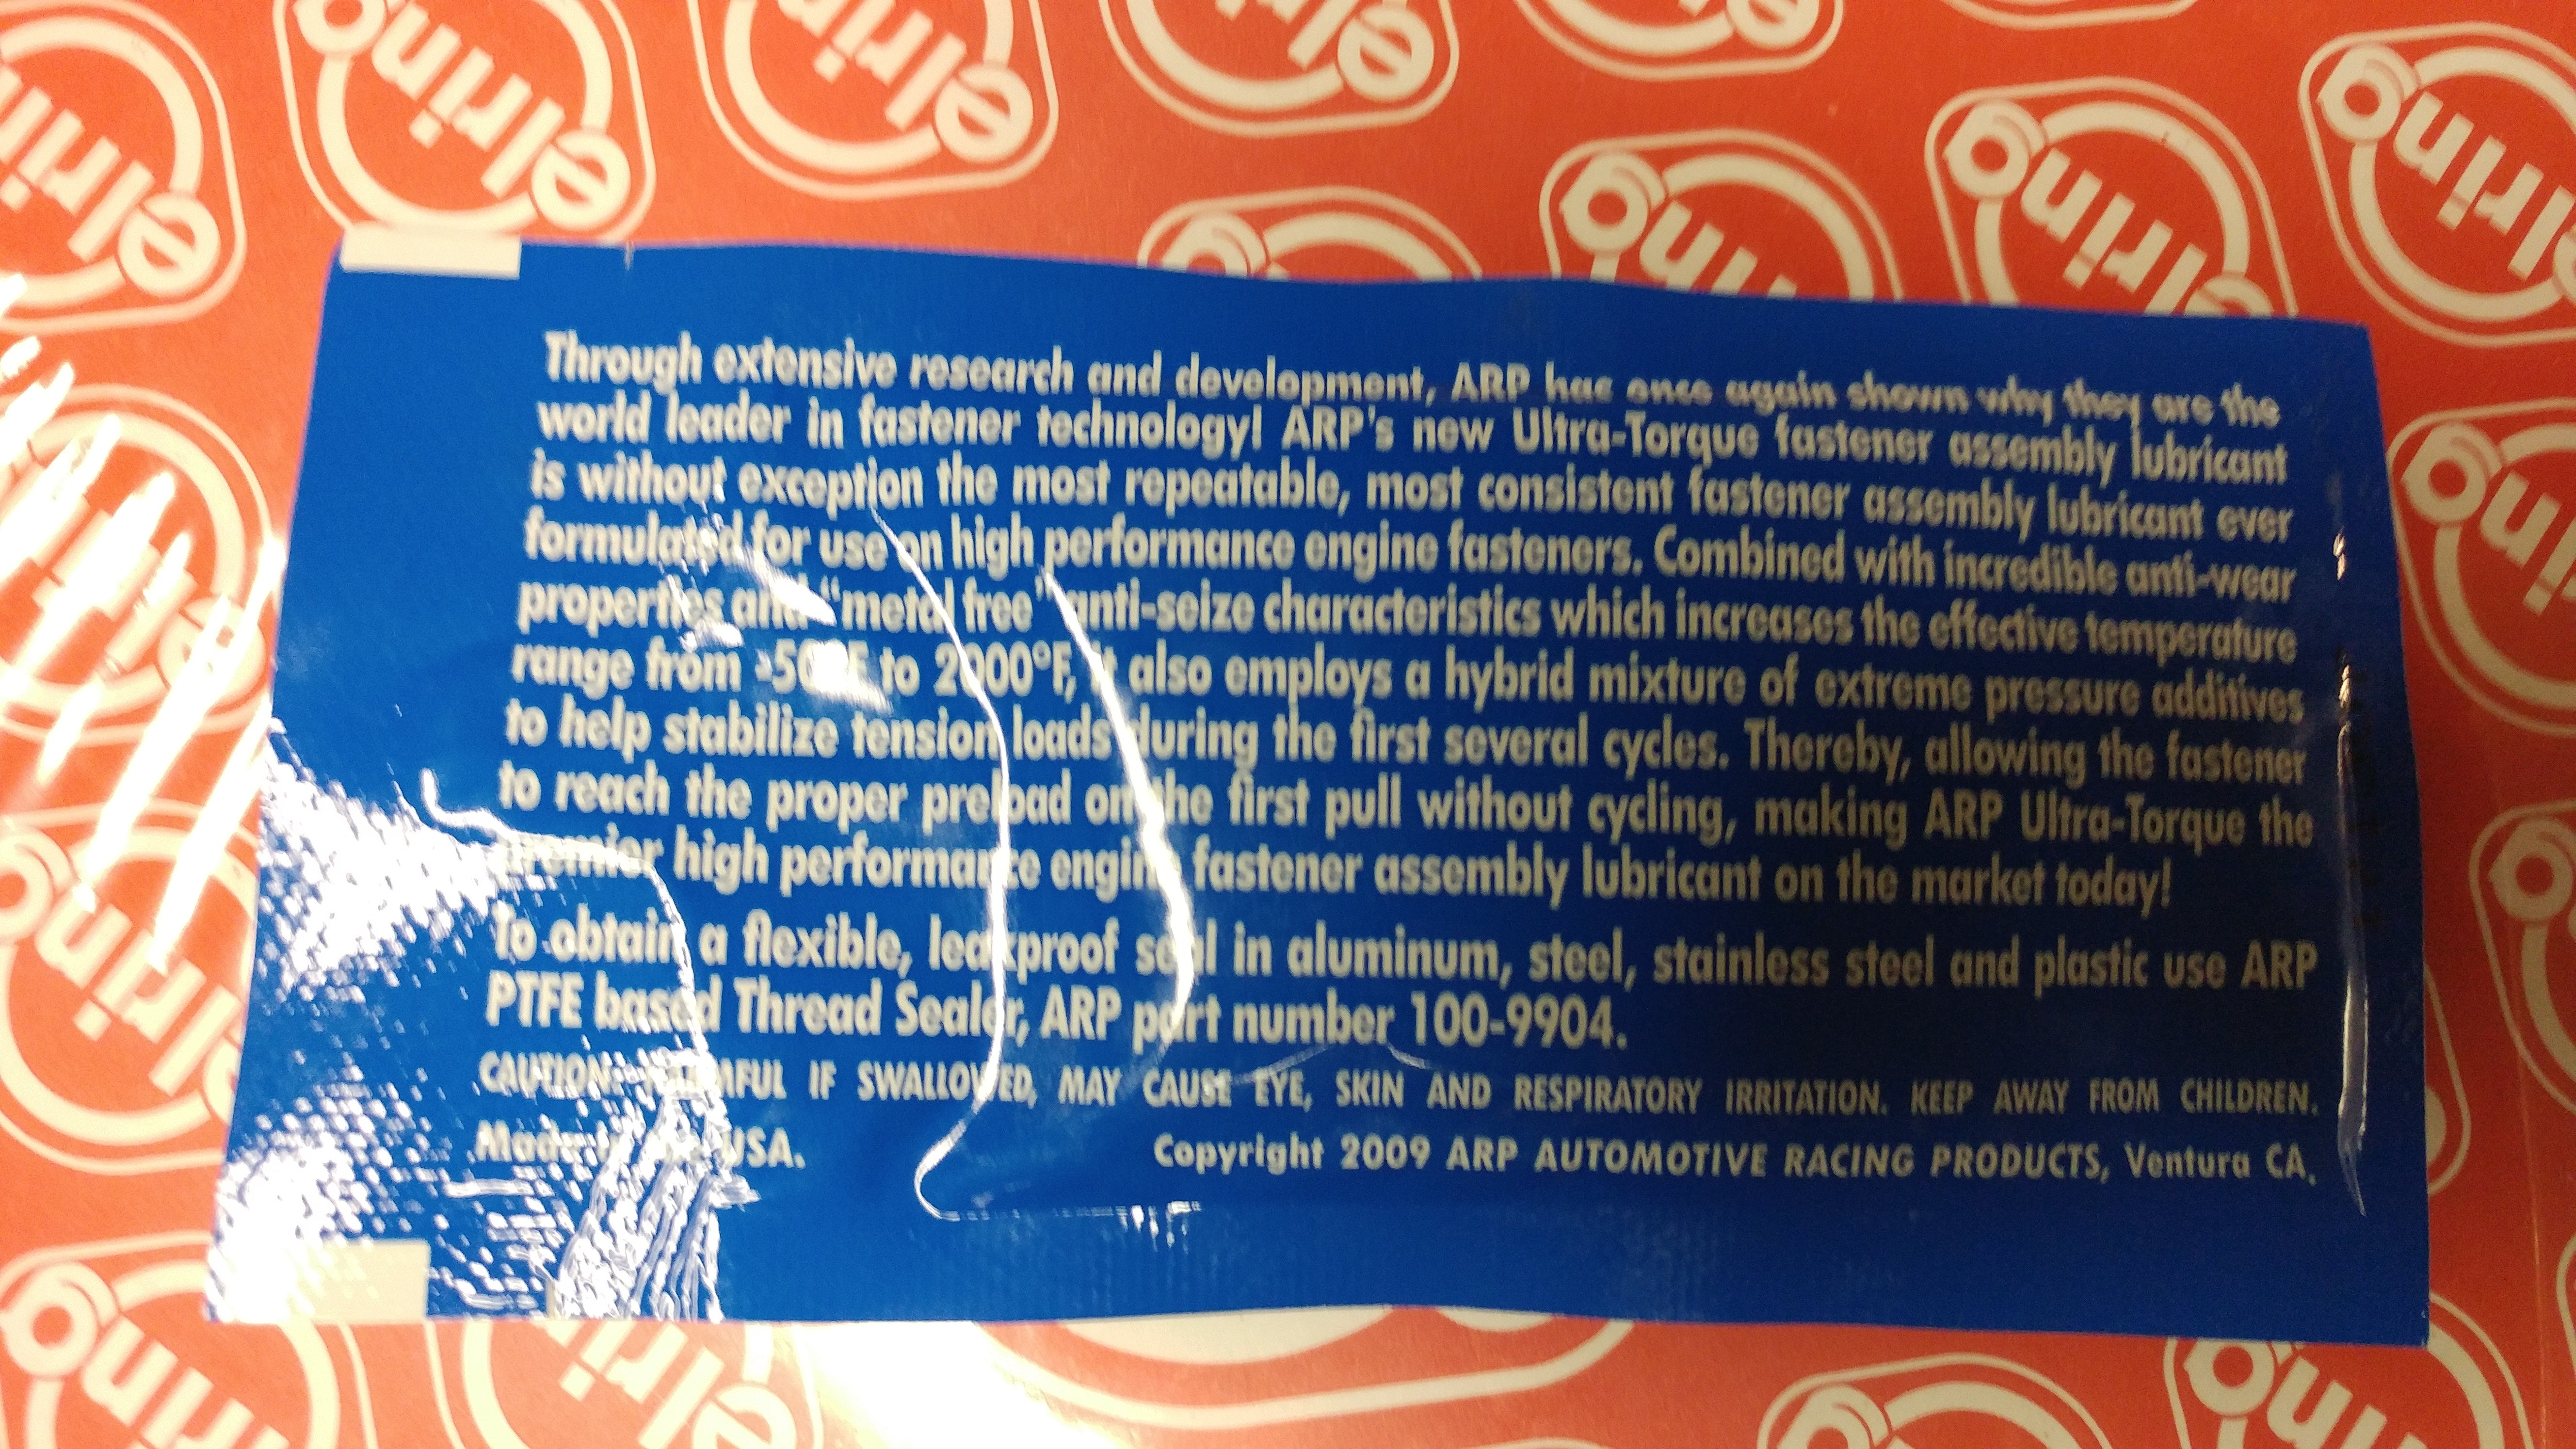
After looking up how to use it on our friend Google (you lube the washers, apparently) the actual install and torquing was actually really easy and straightforward.
Victory!
You know that express “all we lack is finishing”? Yeah. That is where we’re at.
The “hard” part is over, but we still need to re-install the pushrods, rockers, valley gasket, lower intake, valve covers, upper intake, intake ducting, radiator, upper radiator hose, lower radiator hose, thermostat, coolant reservoir, heater hoses, alternator, power steering pump, AC compressor, tensioner, idler pullies, etc etc etc...
Still though, I am super optimistic!
 adamftw
> Akio Ohtori - RIP Oppo
03/15/2018 at 11:22 |
|
I’m glad you broke the radiator because it would SUCK to be out in the desert only to overheat again and... blow the head gaskets.
 Akio Ohtori - RIP Oppo
> adamftw
03/15/2018 at 11:39 |
|
True story! I am trying to convince myself that it would have failed sooner rather than later and it is better this way.
 Echo51
> Akio Ohtori - RIP Oppo
03/15/2018 at 11:55 |
|
If you like the guy tighting the crank pulley, buy him some ointment for his knuckles and some nice gloves for next time!
Nice build btw, always good to see project progress :D
 Akio Ohtori - RIP Oppo
> Echo51
03/15/2018 at 11:59 |
|
Haha yeah, my hands are ruined from working on Project Dumpster Fire earlier in the week. Needed to tighten a bolt that wasn’t visible and well... here we are.
I did wear gloves all day yesterday!
 Akio Ohtori - RIP Oppo
> Echo51
03/15/2018 at 12:00 |
|
Err wasn’t visible and also had about 1.5" of clearance between the block and firewall.
 Echo51
> Akio Ohtori - RIP Oppo
03/15/2018 at 12:08 |
|
Ah yes, stuff like that it’s just impossible to not get cut and bruises to hell and halfway back :D